4. 运行RCU,创建数据库
RCU是FMW 12c系列与之前版本最大的区别,在新的版本中,RCU已集成在Oracle Fusion Middleware Infrastructure中,所以只需安装Oracle Fusion Middleware Infrastructure,就可以开始配置FMW应用所需的数据库。
在Oracle Home的oracle_common\bin目录下,运行rcu.bat,开始创建WebCenter Sites所需的表空间。
4.1 运行RCU,开始创建向导
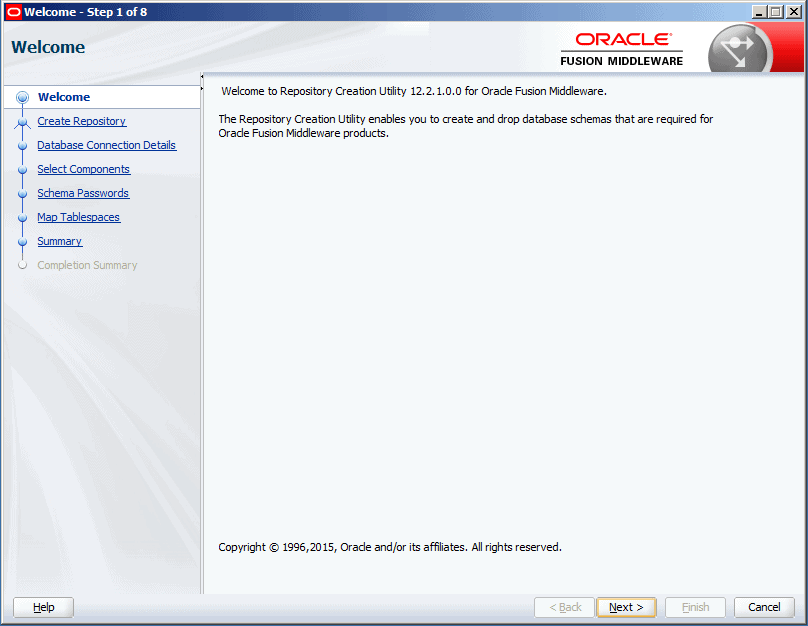
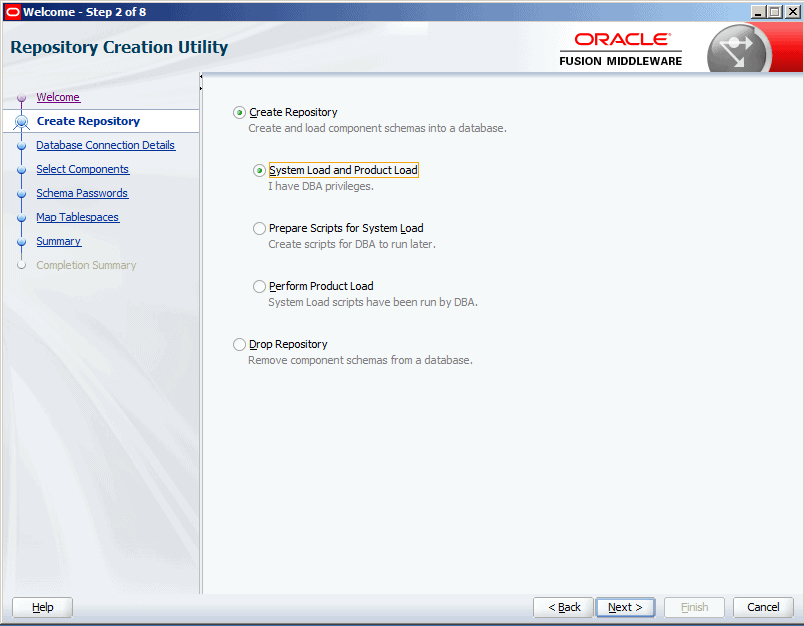
4.2 创建Repository
选择Create Repository-->System Load and Product Load, 点Next.
4.3 数据库连接信息
输入Oracle数据库的连接信息,点击Next.
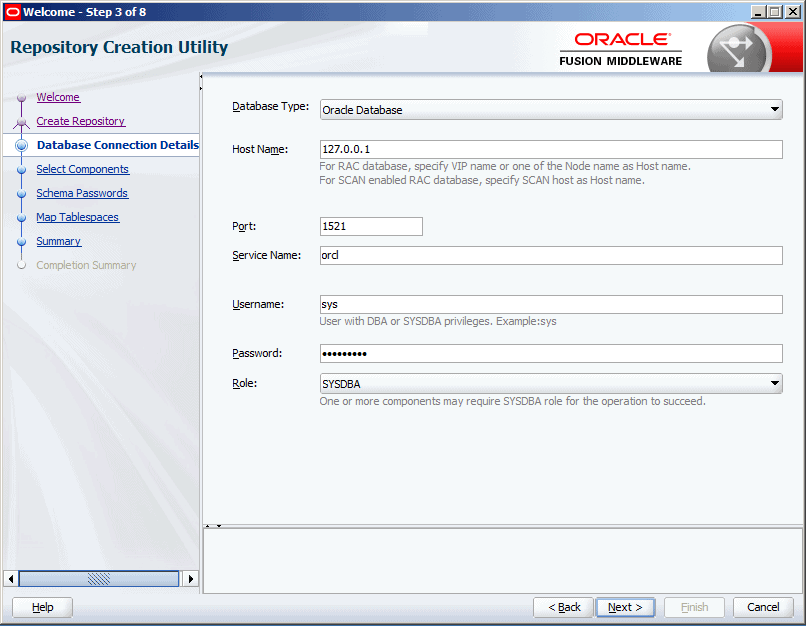
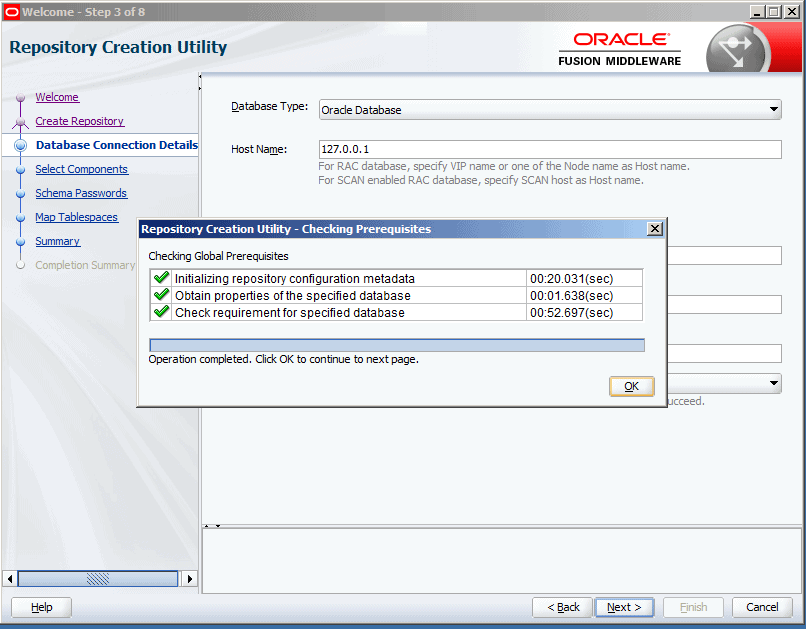
注意如果使用XE的话,数据库检查会报错,只要点击忽略就可以继续。
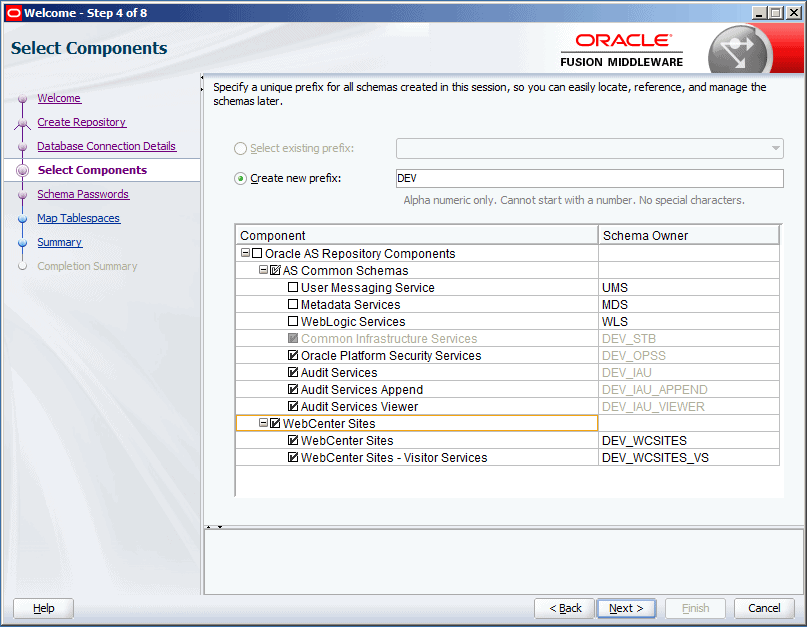
4.4 选择安装组件
勾选WebCenter Sites,其它所需组件会自动先上,确认后点击Next.
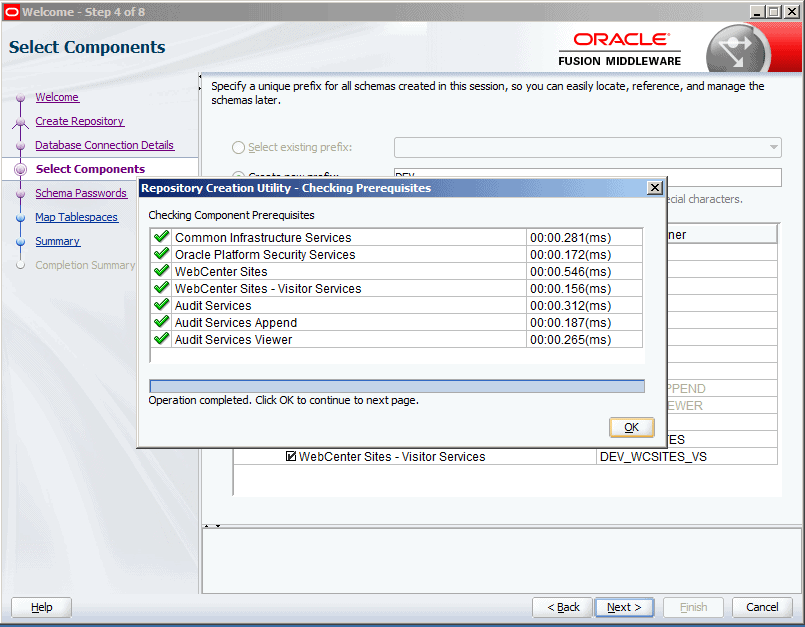
通过先决条件检查后点OK确认。
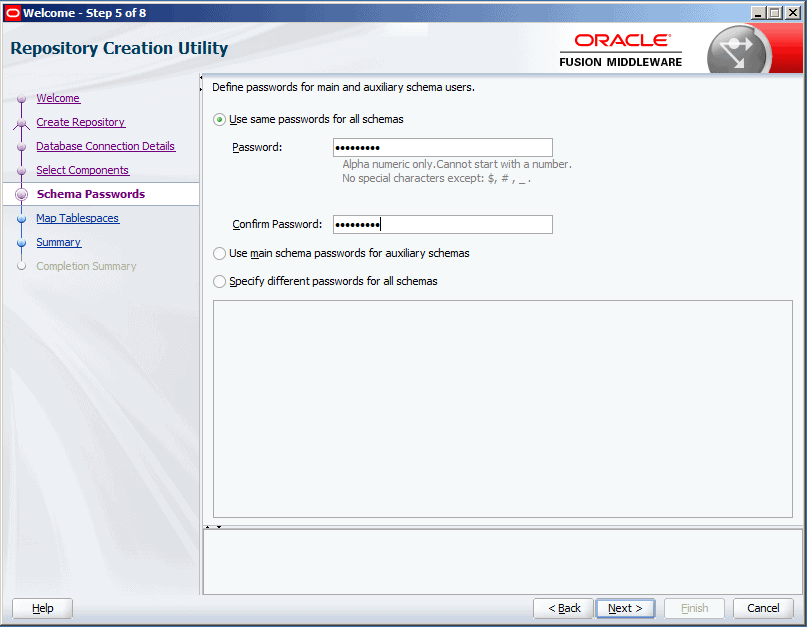
4.5 设置Schema的密码
输入并确认Schema的密码后点Next.
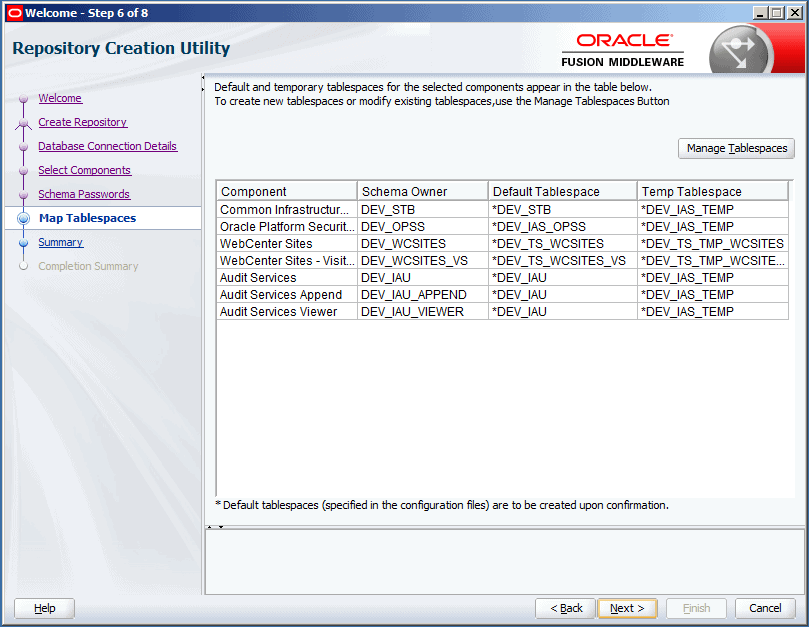
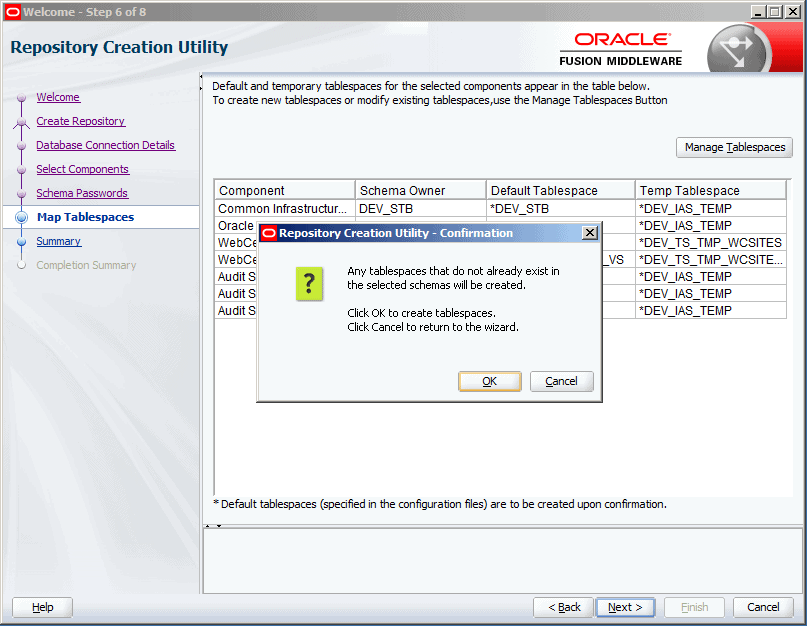
4.6 表空间信息确认并创建表空间
确认表空间信息无误,点击Next.
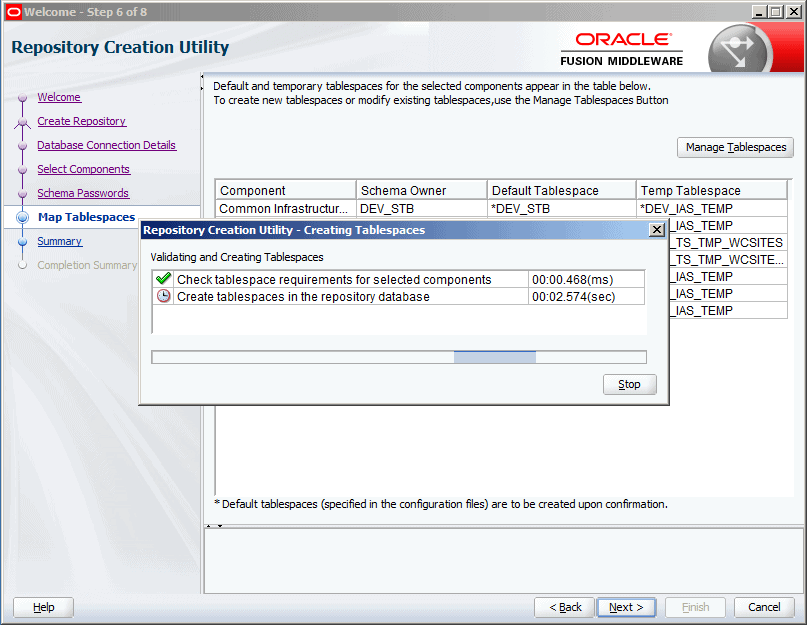
检查后点击OK。
开始创建不存在的表空间,完成后点OK,再点Next。
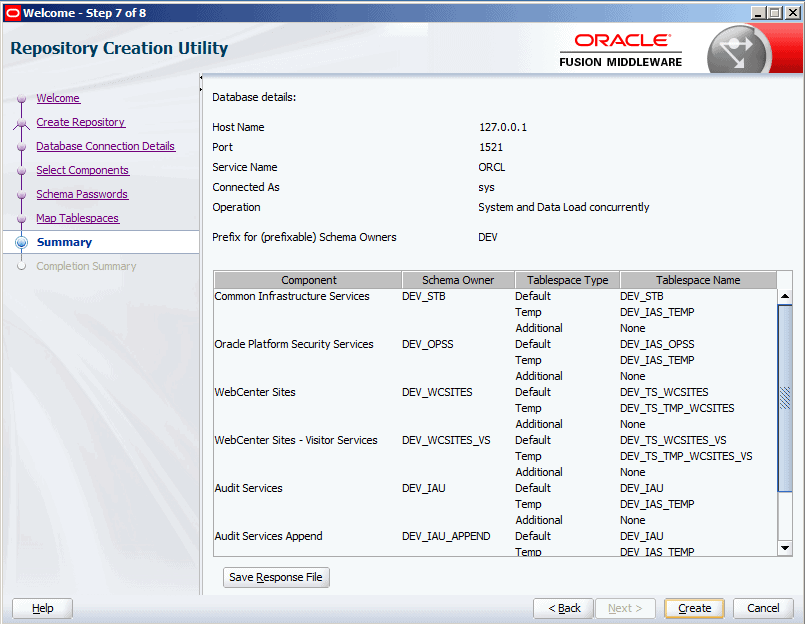
4.7 RCU汇总并创建所需的表
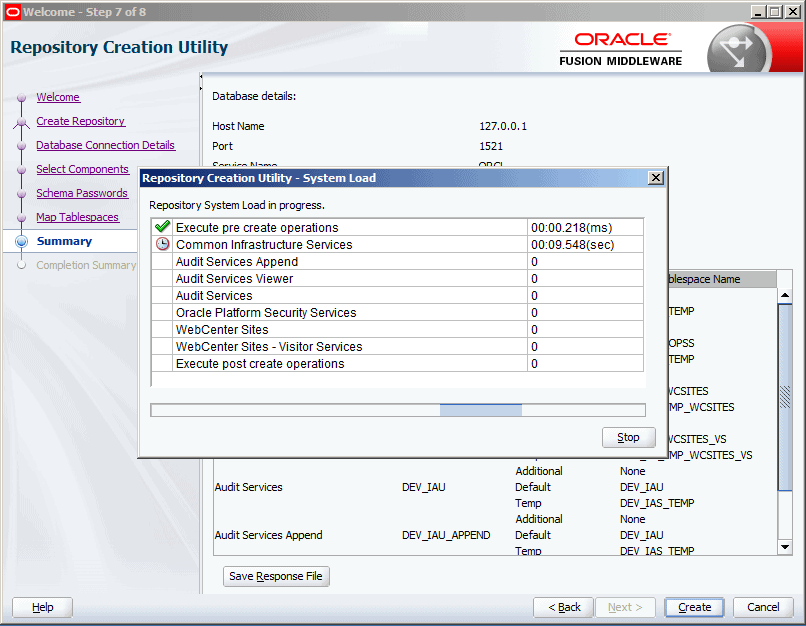
确认信息无误后点Create,创建WebCenter Sites所需的表。
开始创建所需的组件。
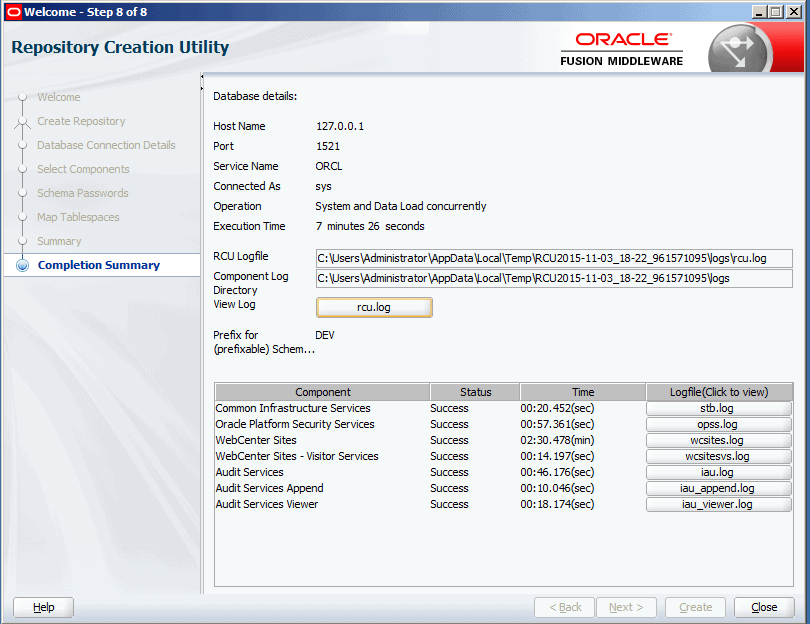
4.8 完成RCU安装
完成RCU安装,点Close.
5. 创建Oracle WebCenter Sites域
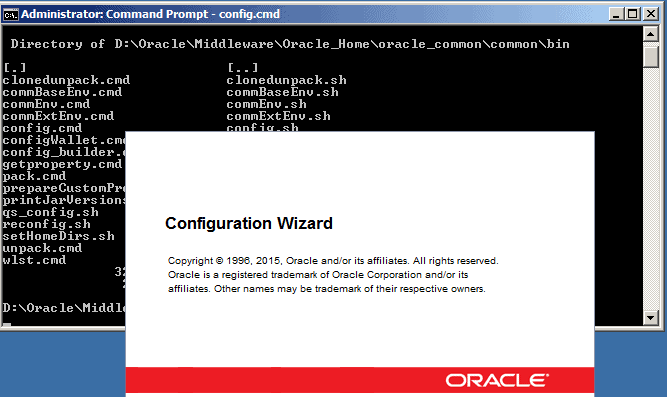
5.1 运行config.cmd,开始域创建向导
运行Oracle Home目录下的oracle_common\common\bin\config.cmd。
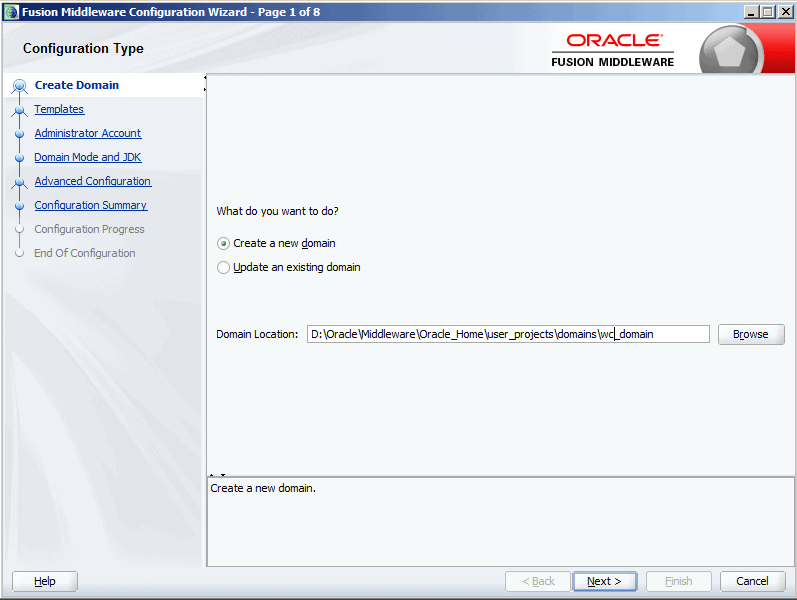
选择创建新Domain,Next.
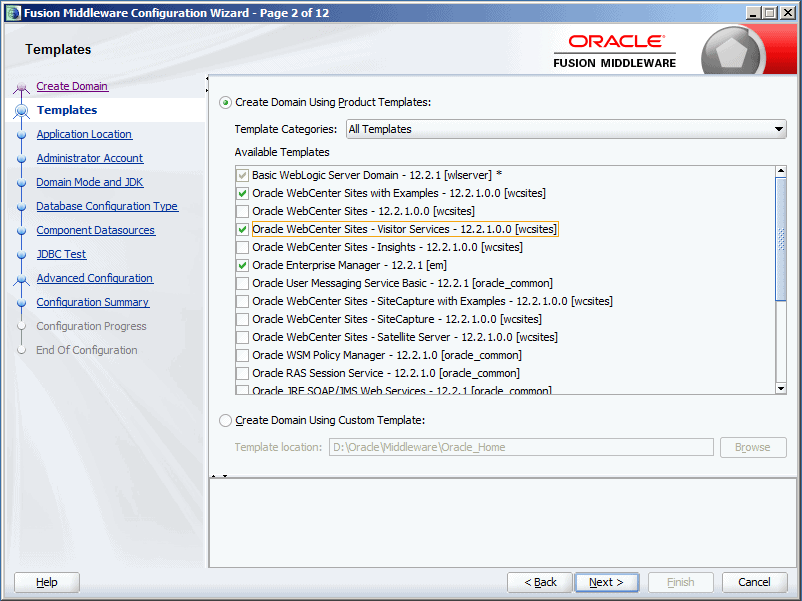
5.2 选择域使用的模板
选择Oracle WebCenter Sites with Examples, Oracle WebCenter Sites - Visitor Services, Oracle Enterprise Manager,点Next.
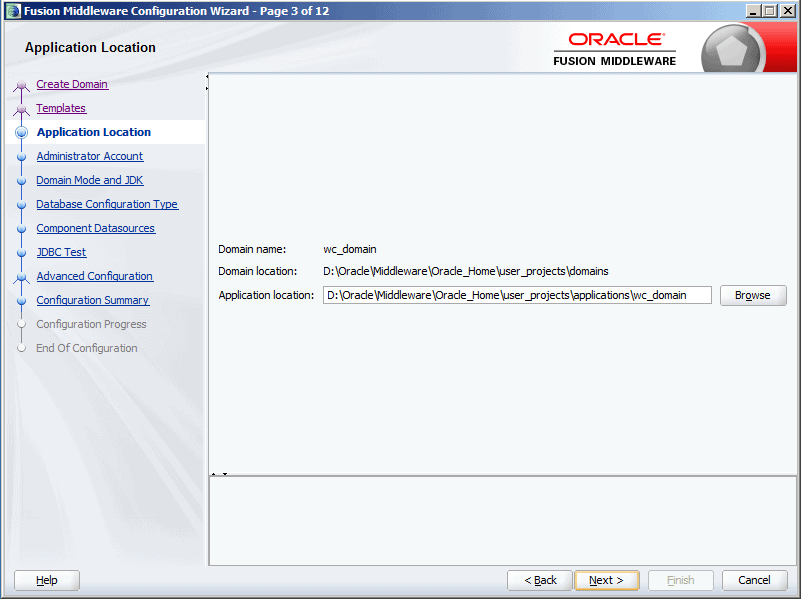
5.3 应用位置
点Next.
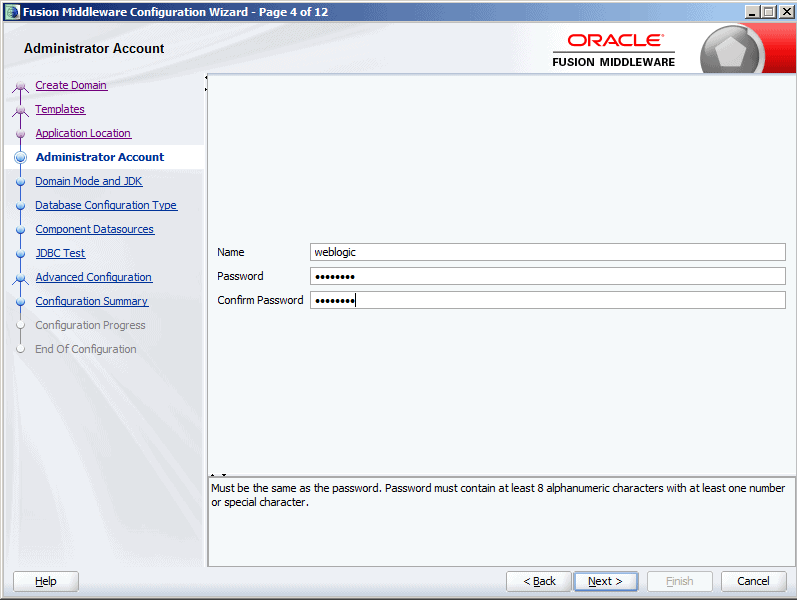
5.4 设置域管理员账号密码
输入域管理员的账号密码,点Next.
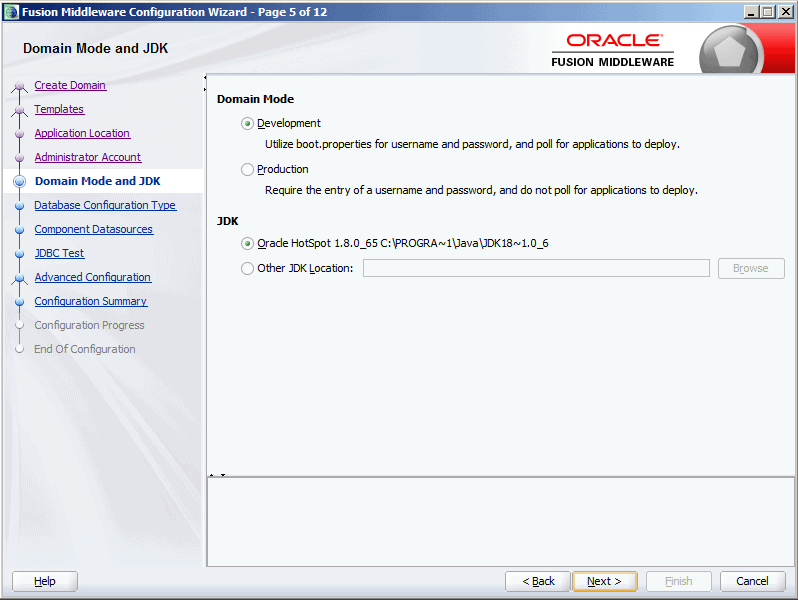
5.5 Domain模式和JDK
选择所需模式及JDK后点Next.
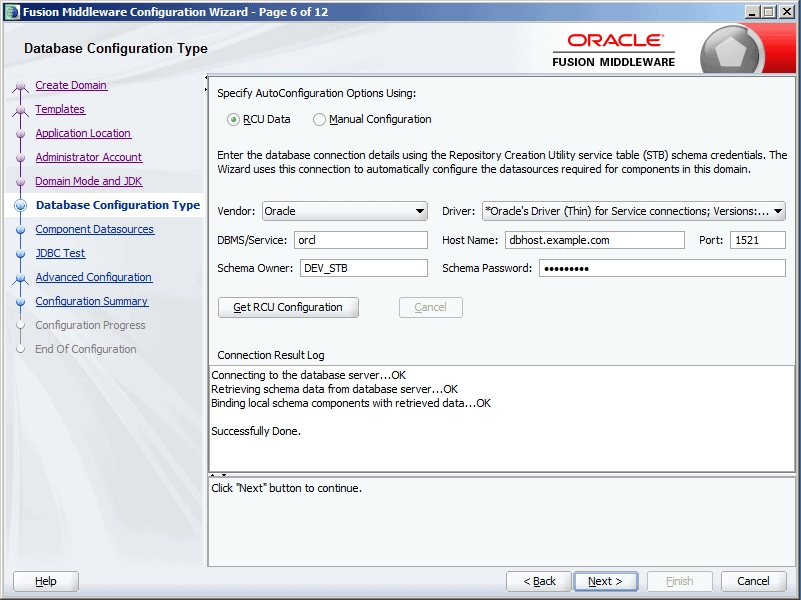
5.6 数据库连接配置
输入数据库密码后点击Get RCU Configuration,测试数据库连接没问题后点Next.
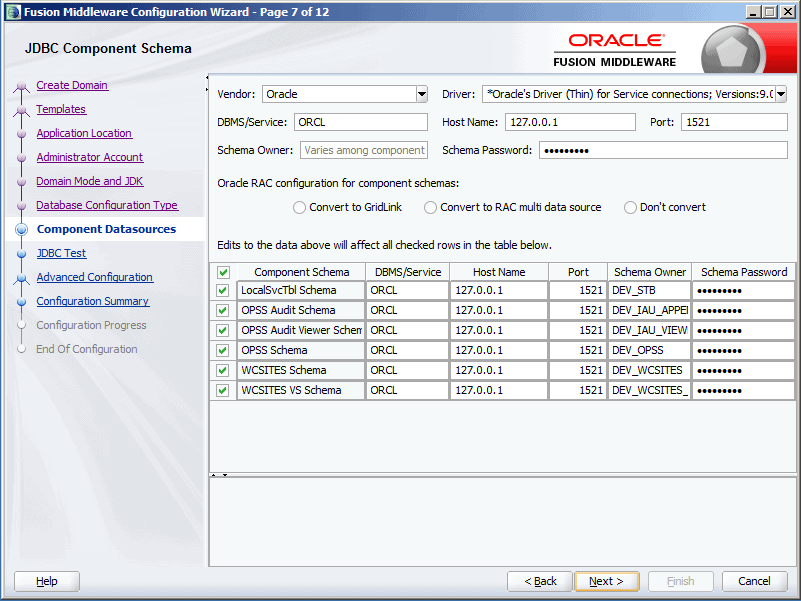
5.7 组件数据源连接设置
输入组件数据源的数据库连接信息,点击Next。
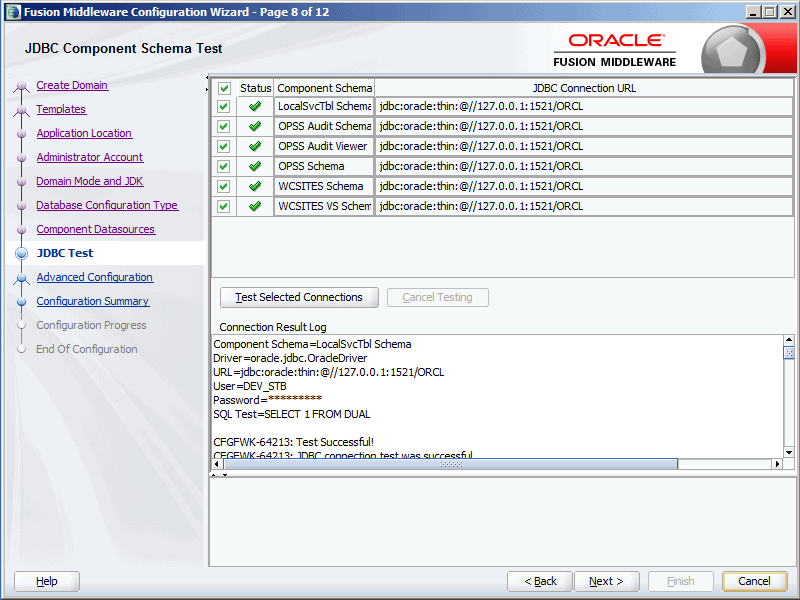
5.8 JDBC测试
JDBC测试成功后点Next.
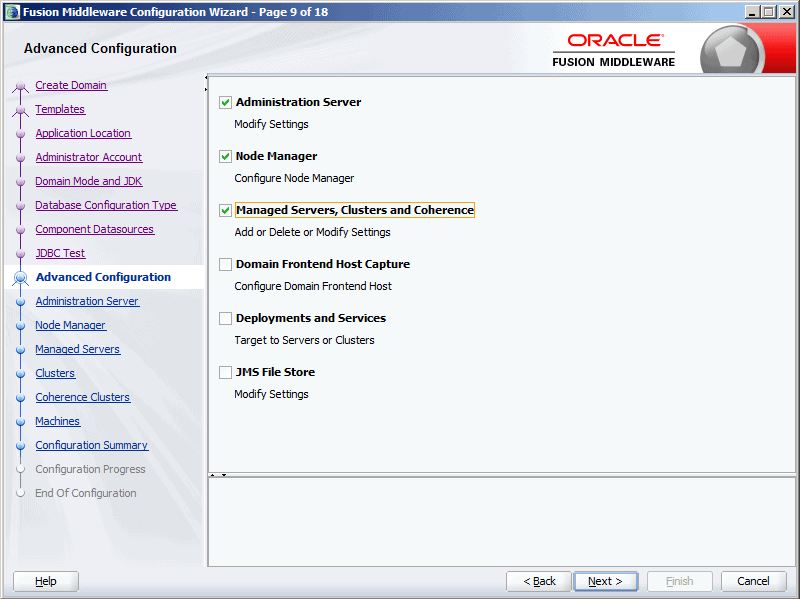
5.9 Advanced Configuration
Advanced Configuration选择Administration Server, Node Manager和Managed Servers, Clusters and Coherence.
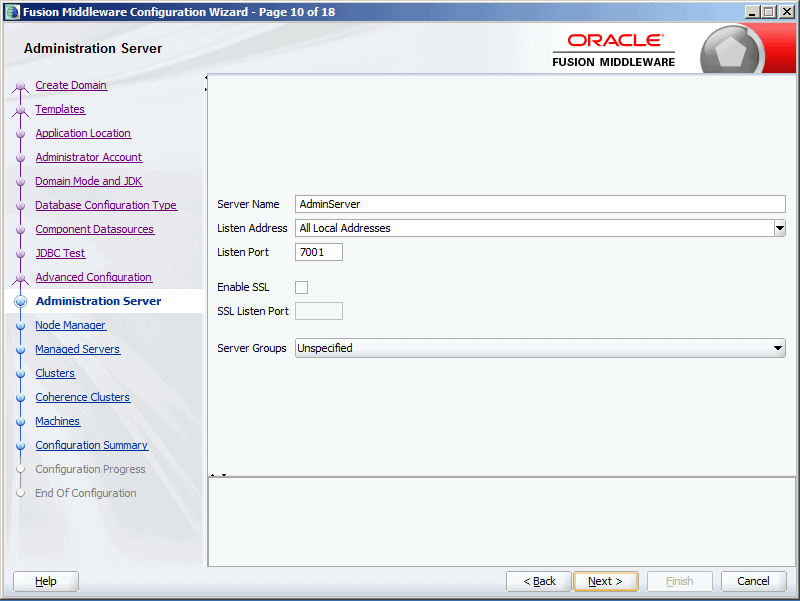
Administration Server
默认7001端口,Next.
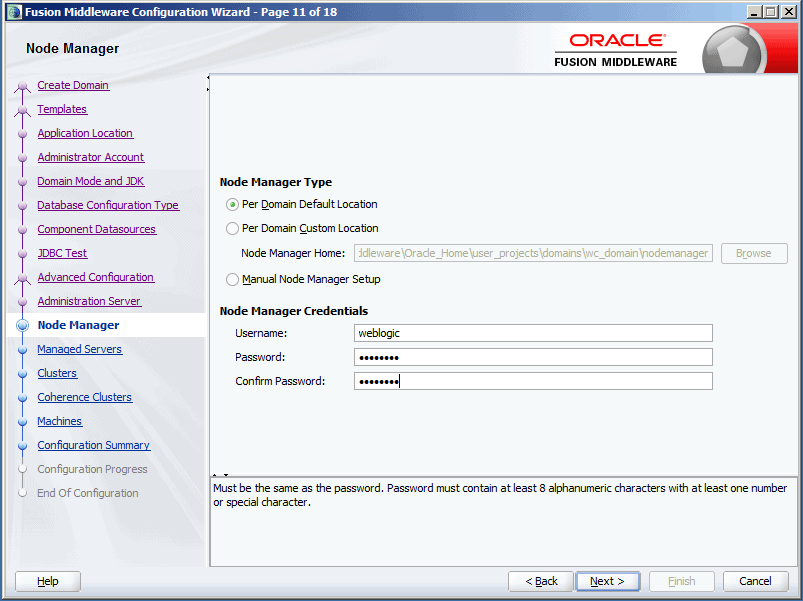
Node Manager
选择Node Manager的类型,输入Node Manager的用户名及密码。
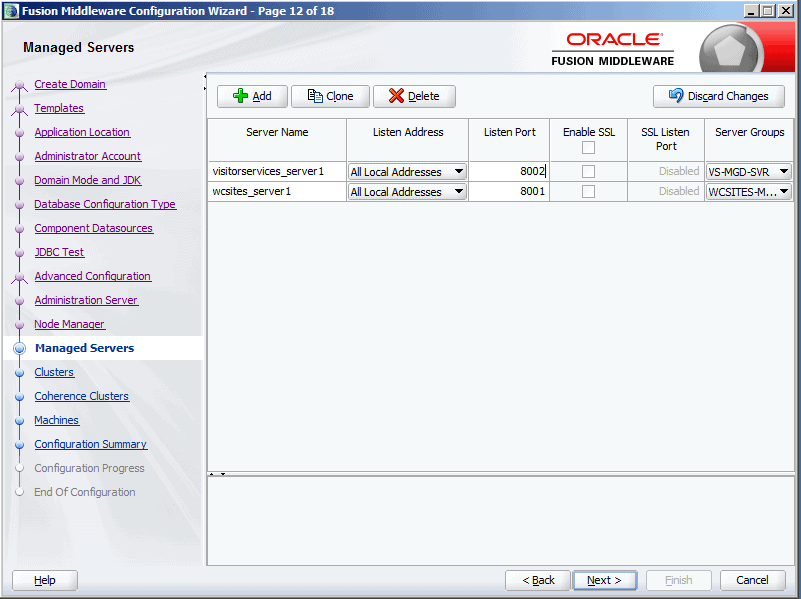
Managed Servers
设定管理服务器的名称及端口,点Next.
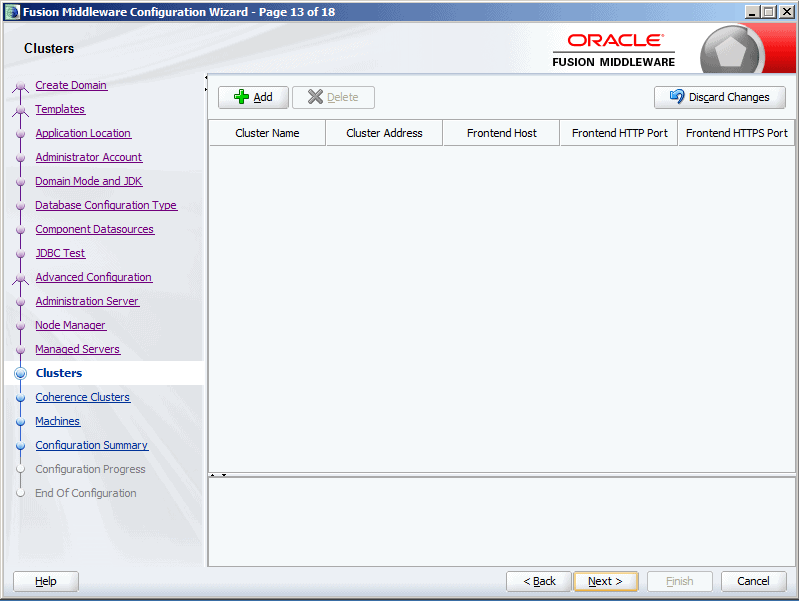
Clusters
直接Next
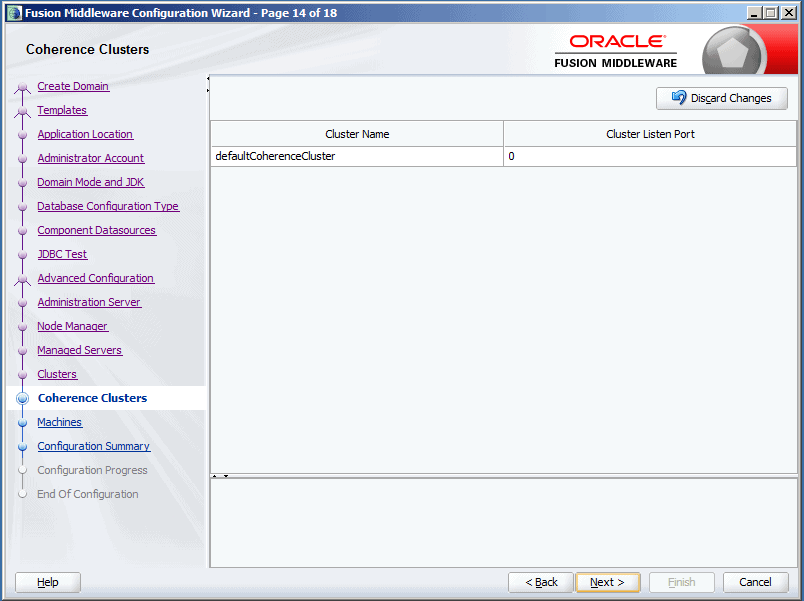
Coherence Clusters
直接Next
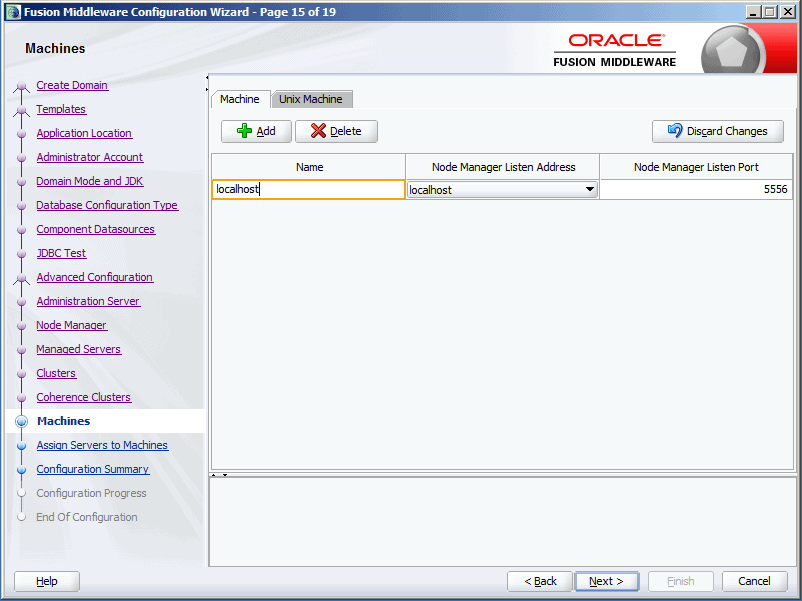
5.10 Machines
输入主机名,点Next.
5.11 指定管理服务器给主机
为所有的管理服务器指定给上一步设定的主机名,点Next

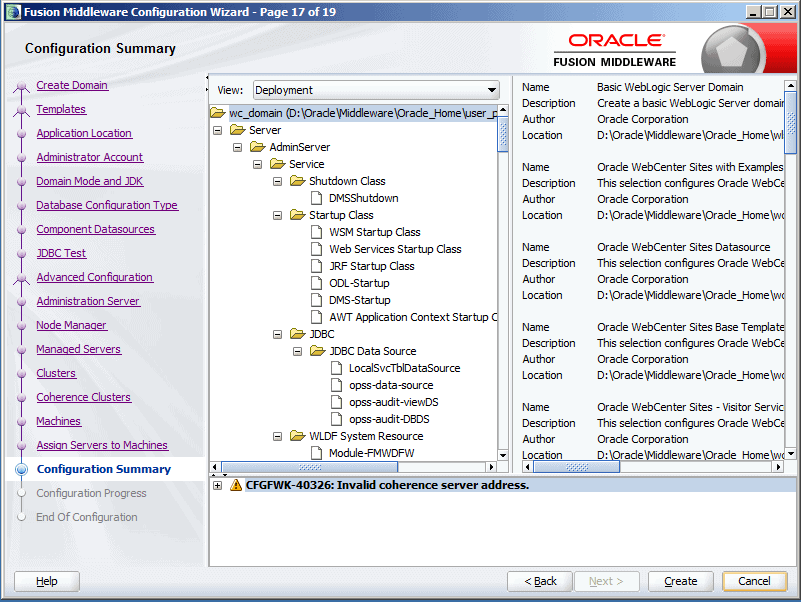
5.12 配置汇总
直接点Create,开始Domain创建。
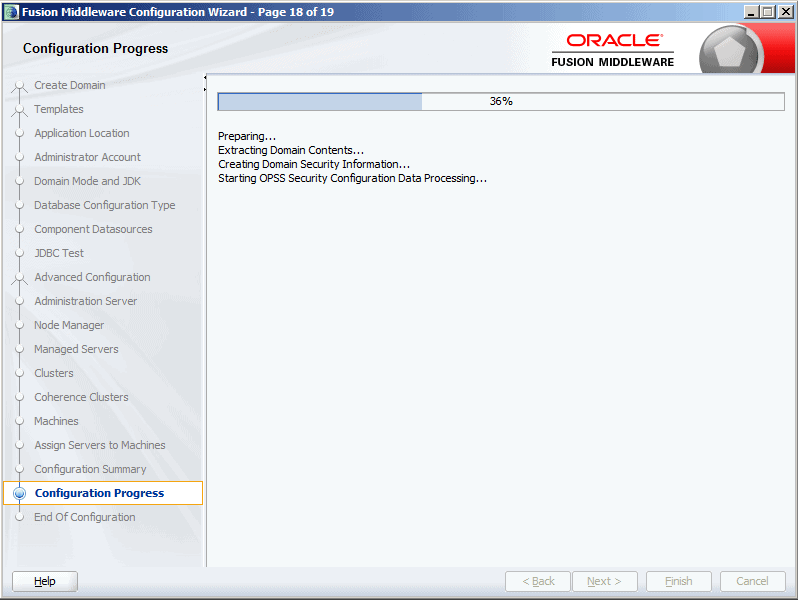
5.13 进行Domain创建
完成配置后点Next
5.14 完成域配置
点击Finish,完成Domain的创建及配置。
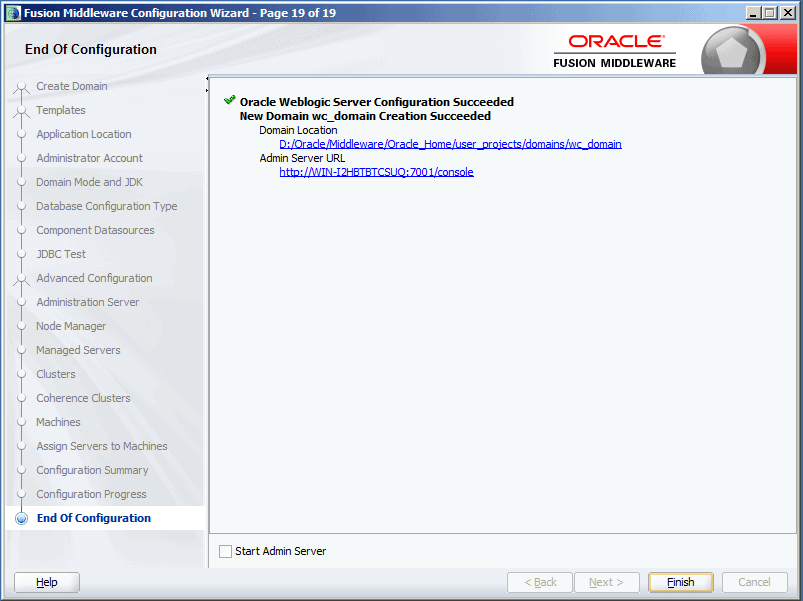
至此,我们完成了Oracle WebCenter Sites所需Domain及Managed Server的创建,下一步是进一步配置并真正把WebCenter Sites运行起来。
未完待续,To be continued......
评论
发表评论