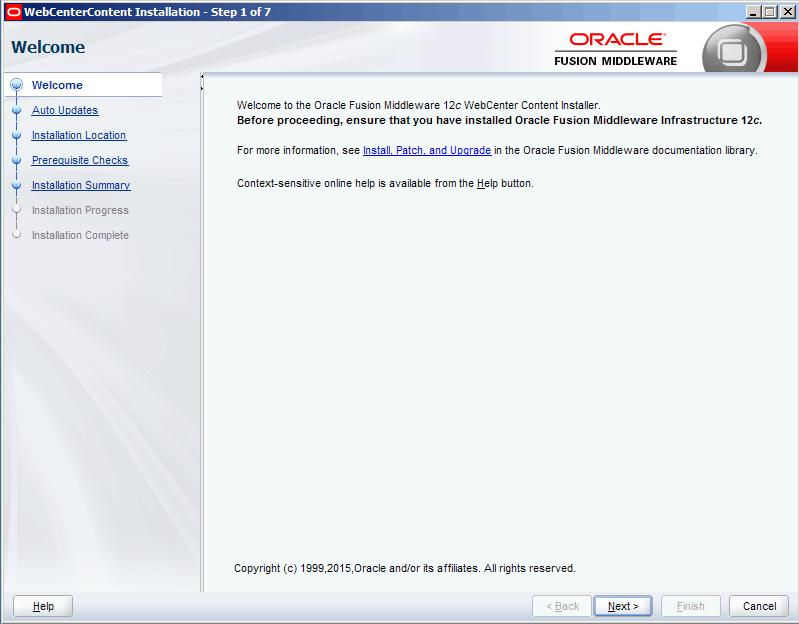
继续试用WCC 12c,比起11g,WCC 12c最大的改进当属是采用了全新的Alta UI,当然了,其它的一些功能就只有慢慢试了。
和WCS一样,安装的前提是JDK 8,Oracle Database 12c,Weblogic Server 12c,具体的安装步骤可以参考这篇文章安装Oracle WebCenter Sites 12c (part 1) ,RCU的设置及安装可参考安装Oracle WebCenter Sites 12c (part 2) 。这篇文章从安装WCC开始。
1. 安装WCC软件
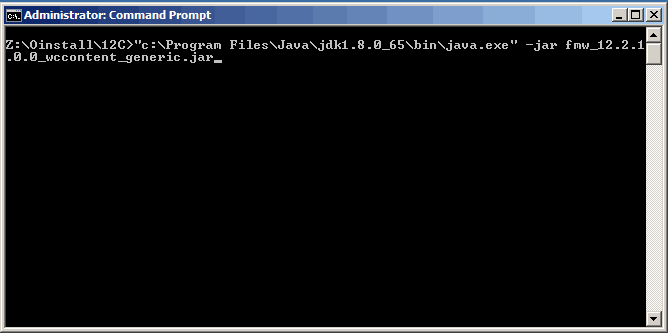
1.1 启动安装向导
输入命令,"c:\Program Files\Java\jdk1.8.0_65\bin\java.exe" -jar fmw_12.2.1.0.0_wccontent_generic.jar启动安装向导。
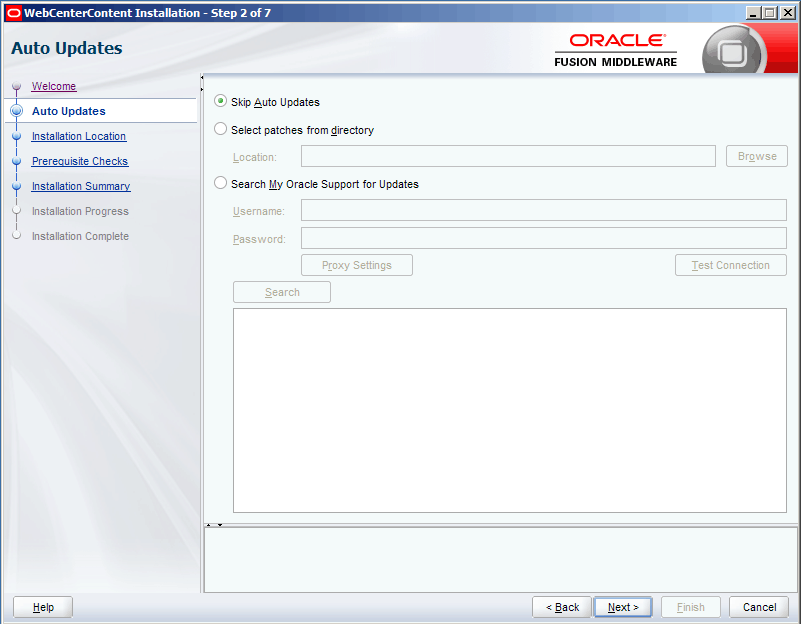
1.2 自动更新
跳过,点Next.
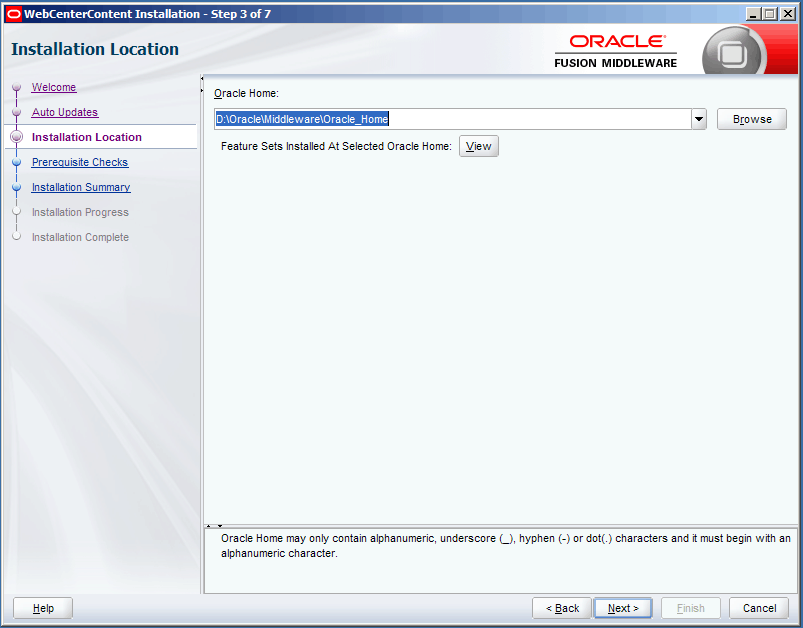
1.3 安装位置
选择Oracle Home位置,Next
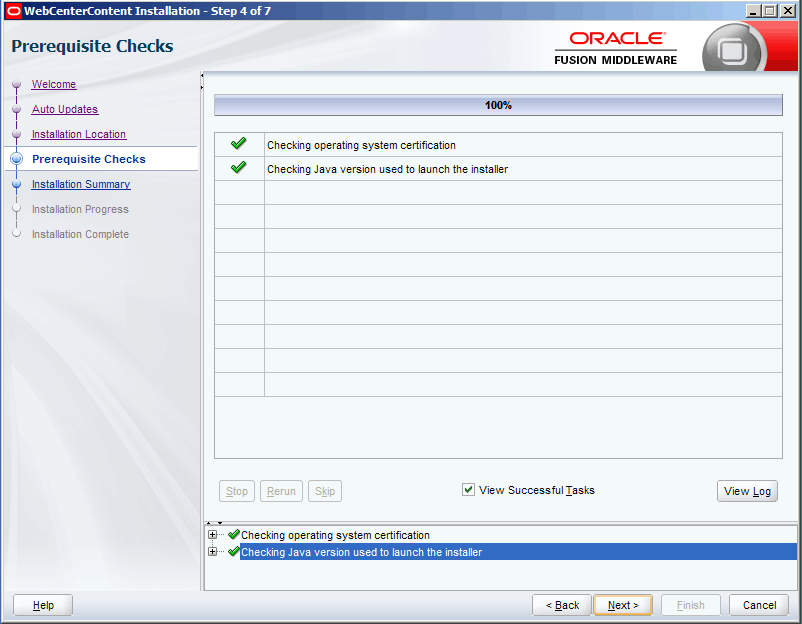
1.4 先决条件检查
检查成功后,Next
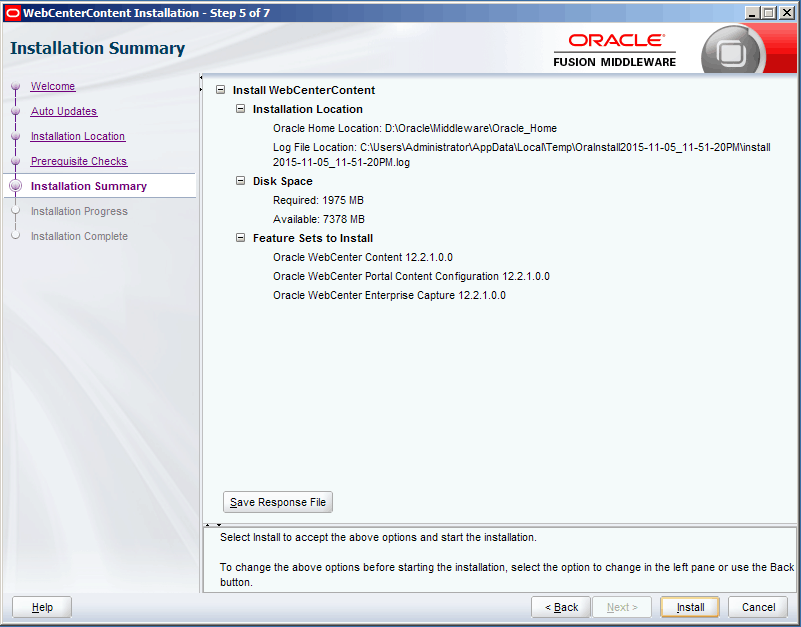
1.5 安装汇总
点Install,开始安装WCC软件。
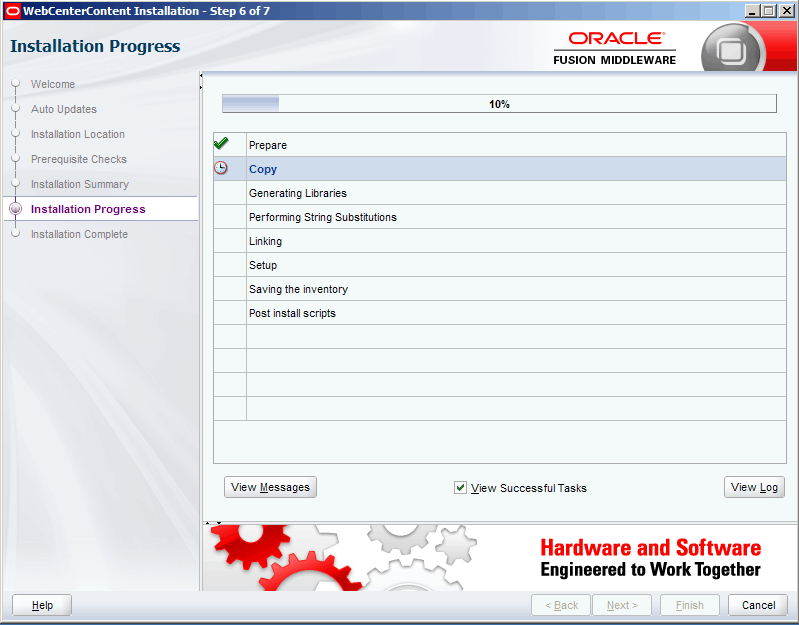
安装进行中
1.6 完成WCC软件安装

2. 配置WCC域
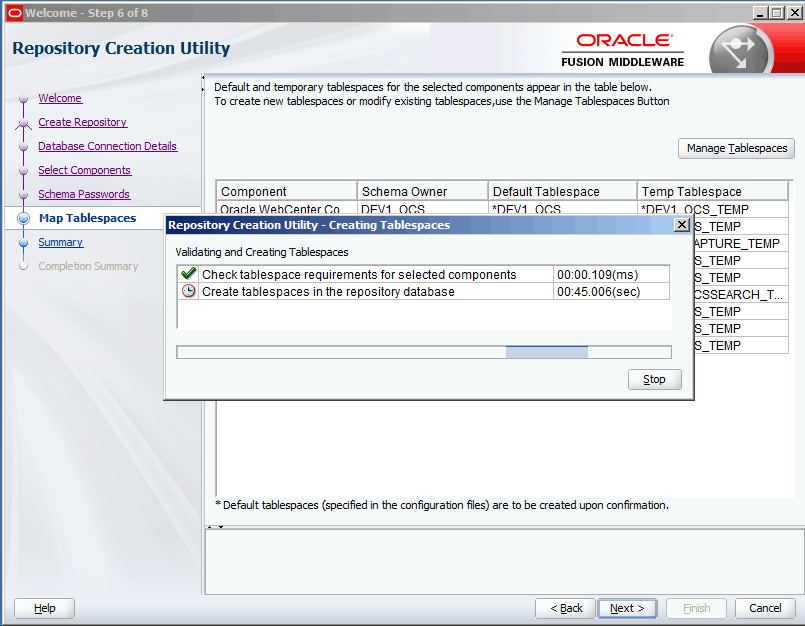
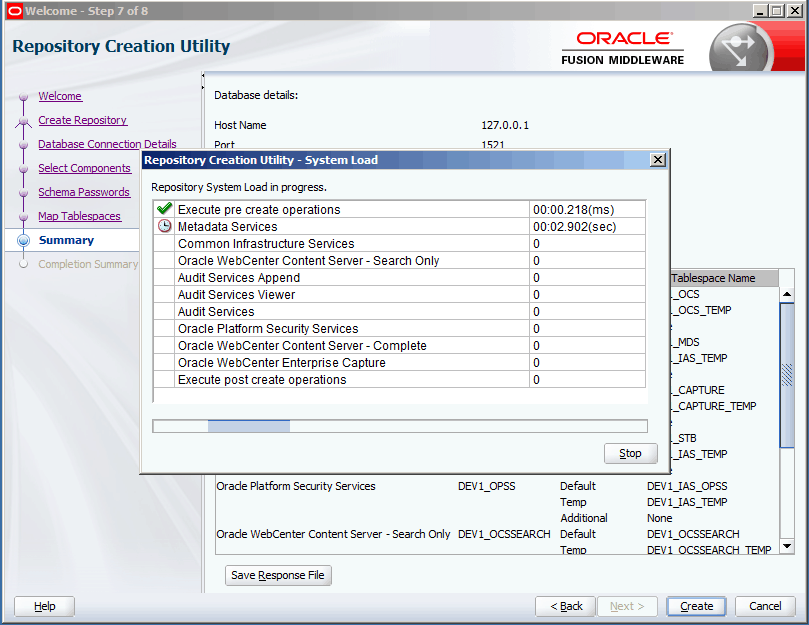
2.1 运行RCU创建所需的数据库表空间
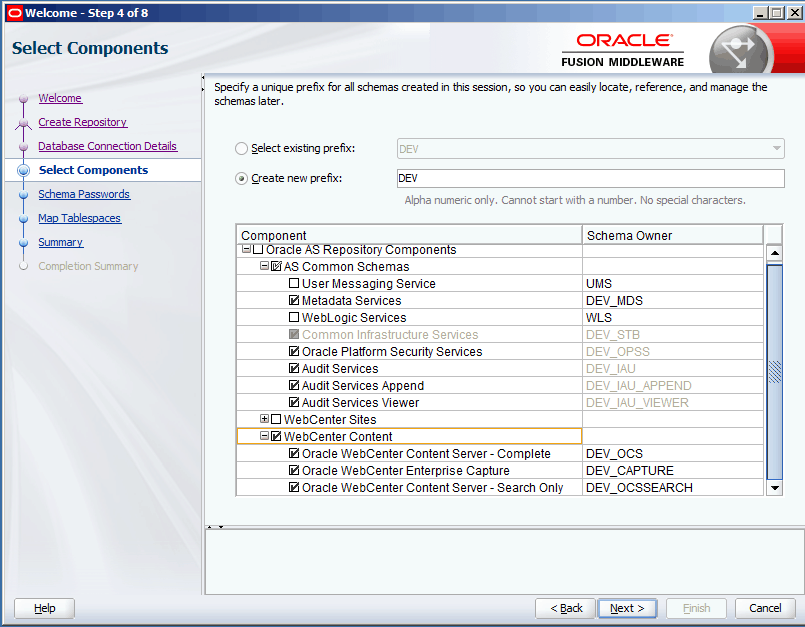
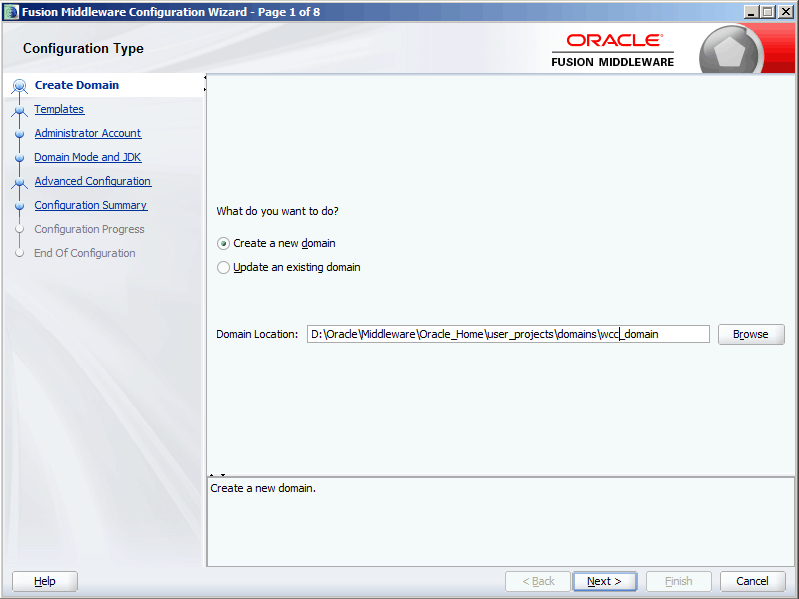
2.2 创建域
转至 ORACLE_HOME/oracle_common/common/bin目录下,运行config.cmd,启动WCC应用域创建向导。
创建新Domain
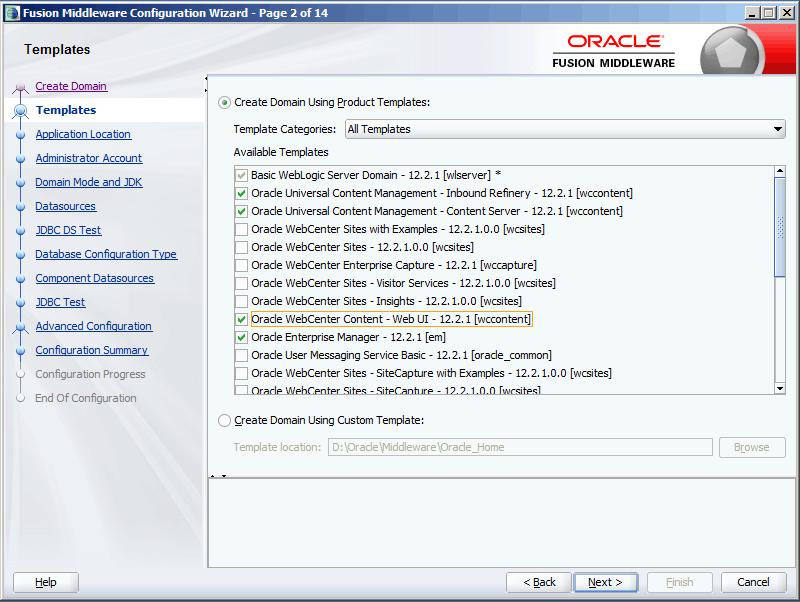
选择域模板
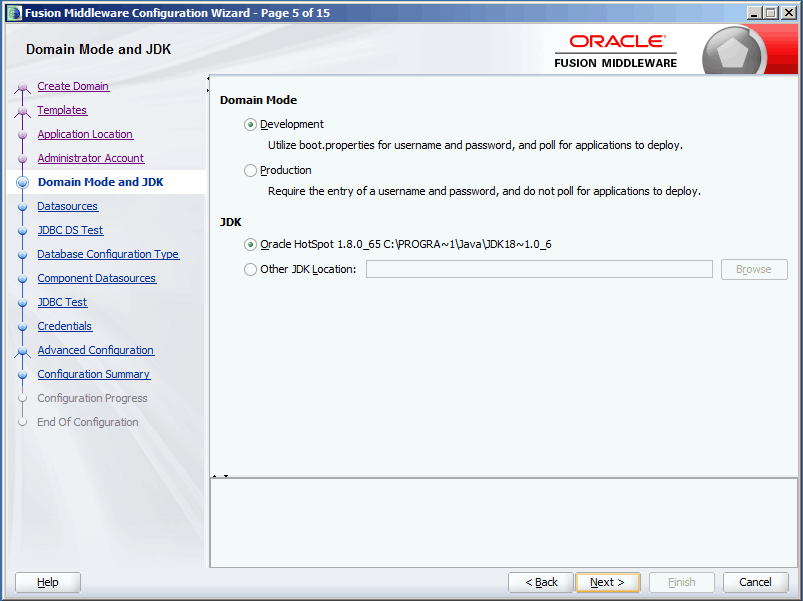
Domain模式和JDK
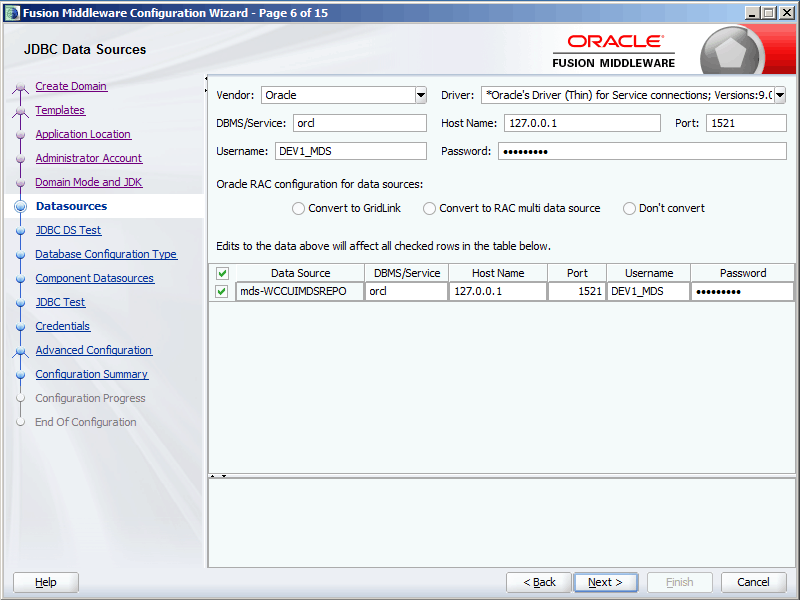
数据源
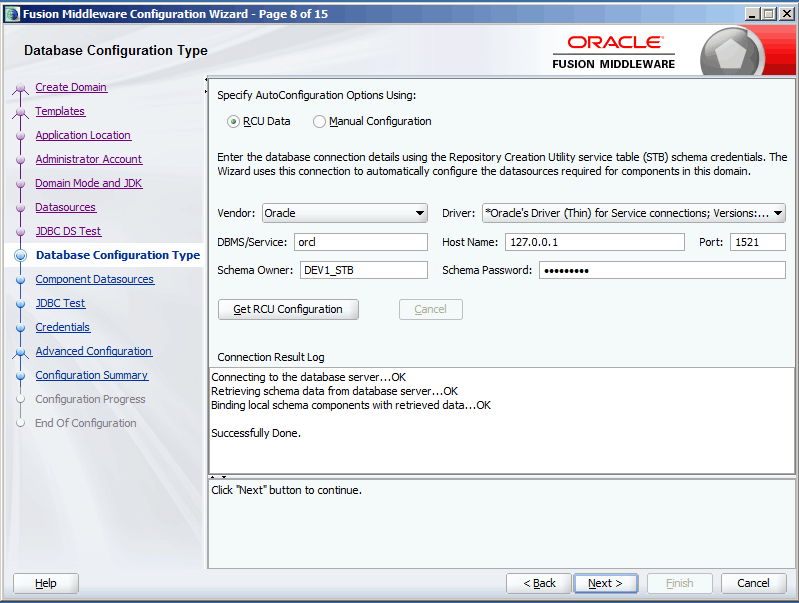
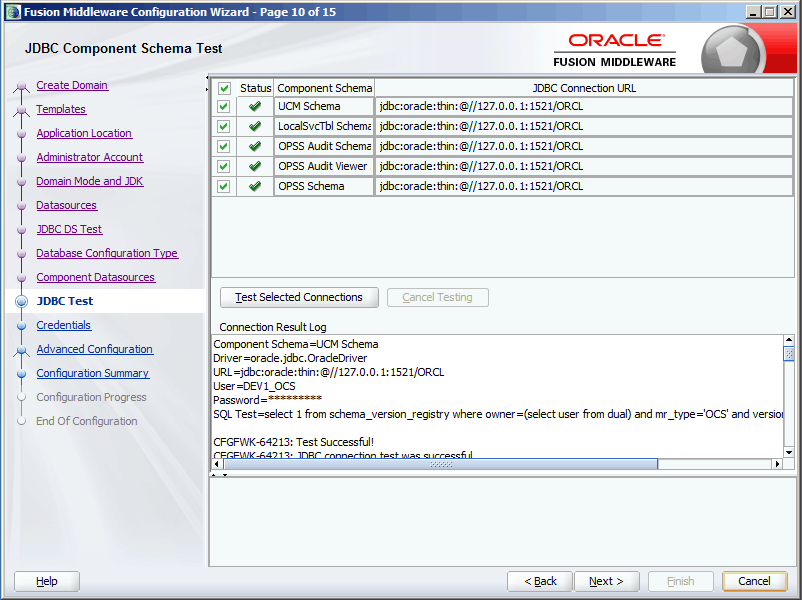
数据库配置
输入信息后点Get RCU Configuration
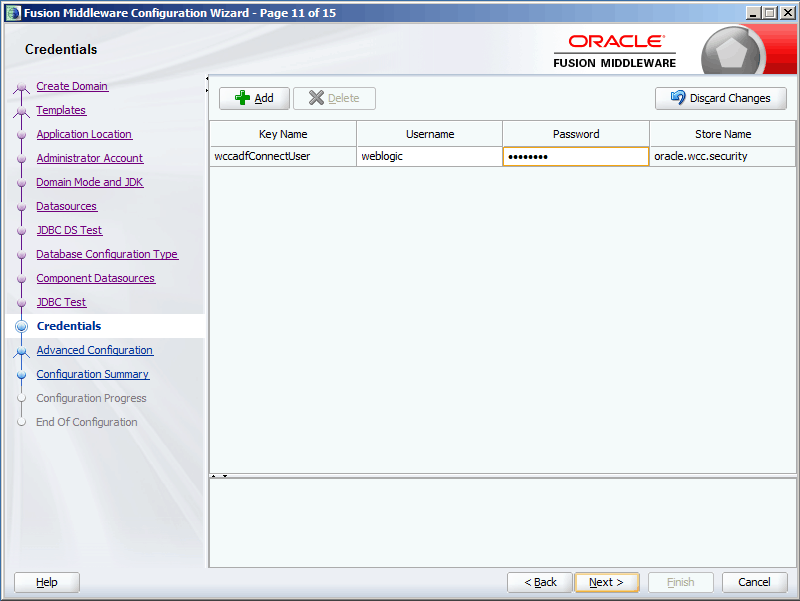
Credentials
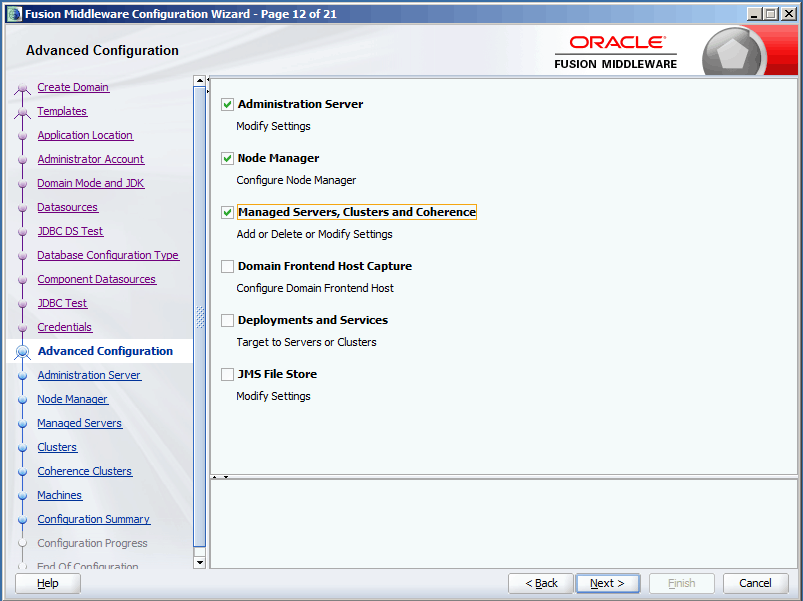
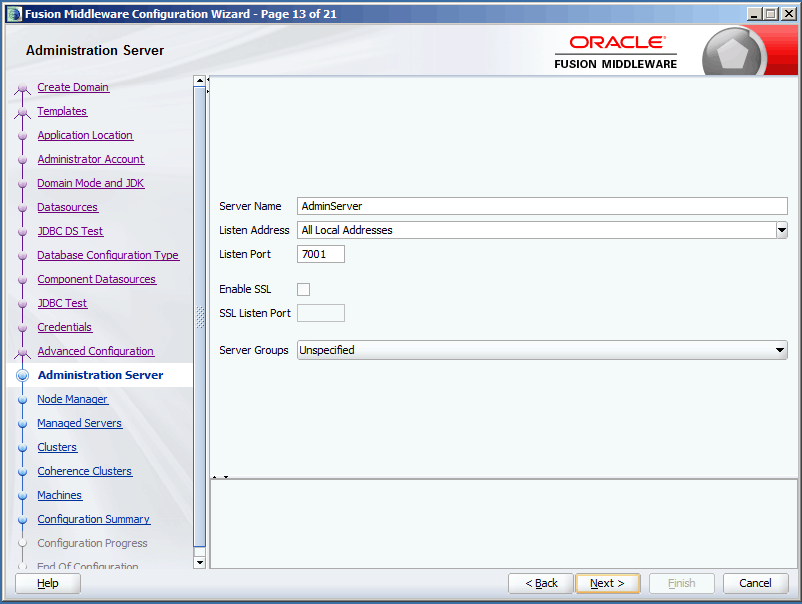
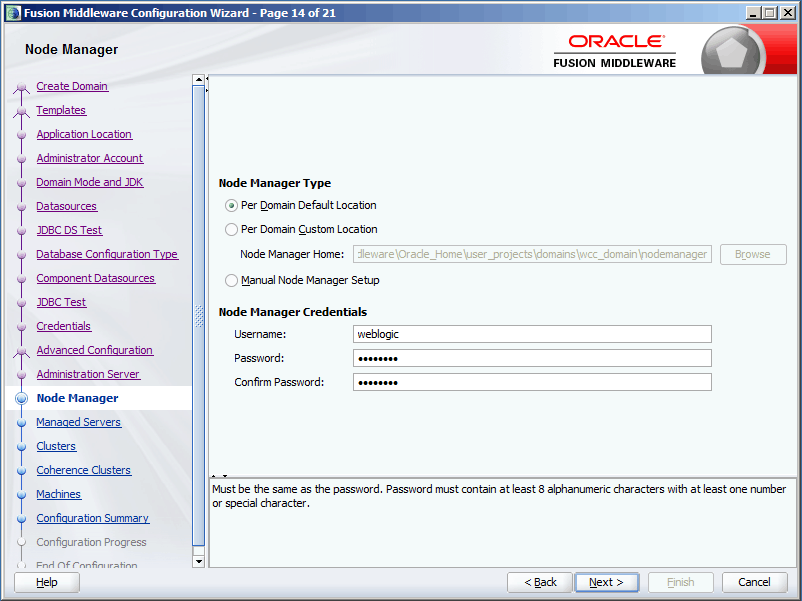
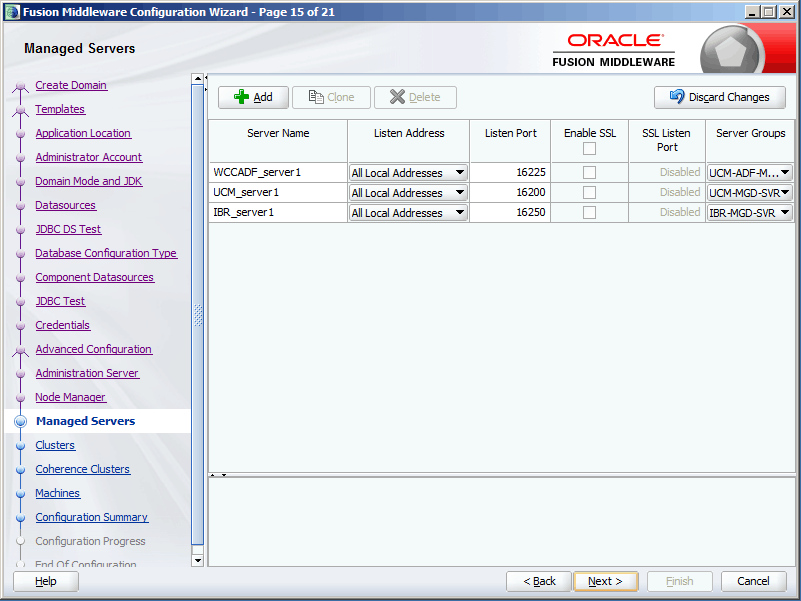
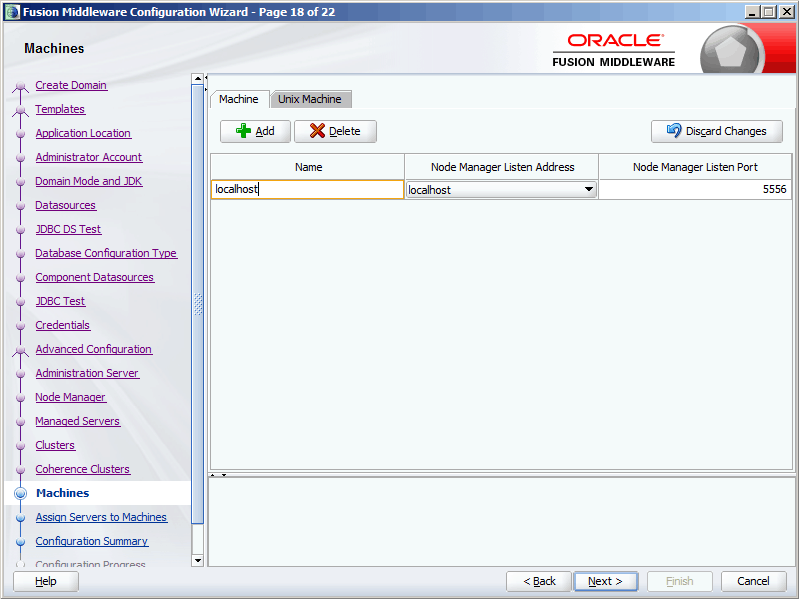
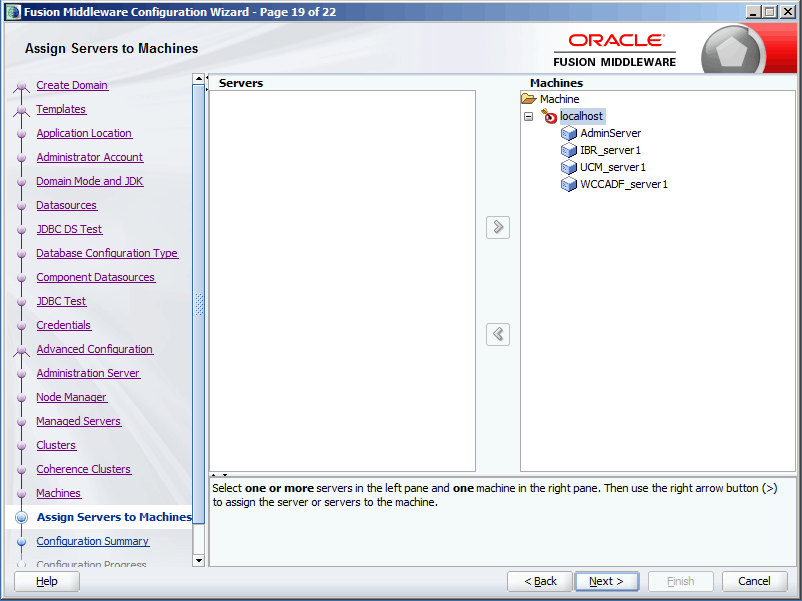
配置管理服务器
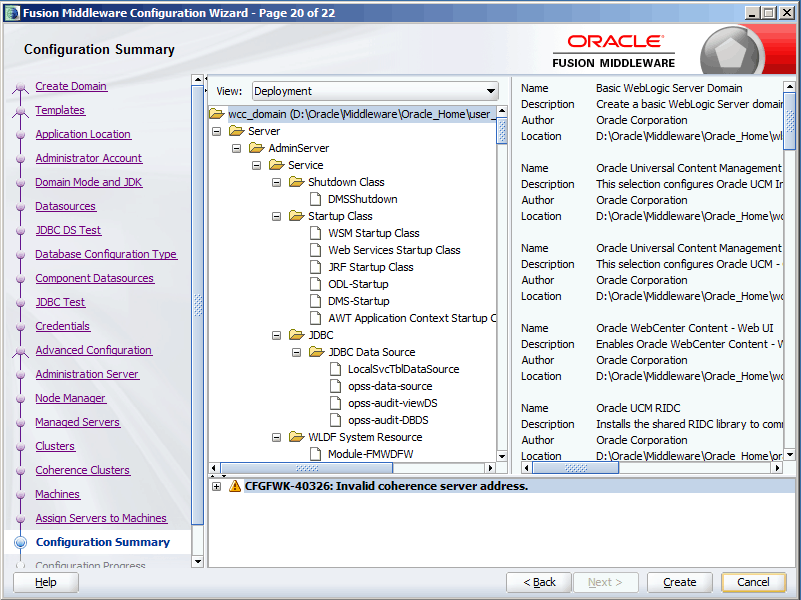
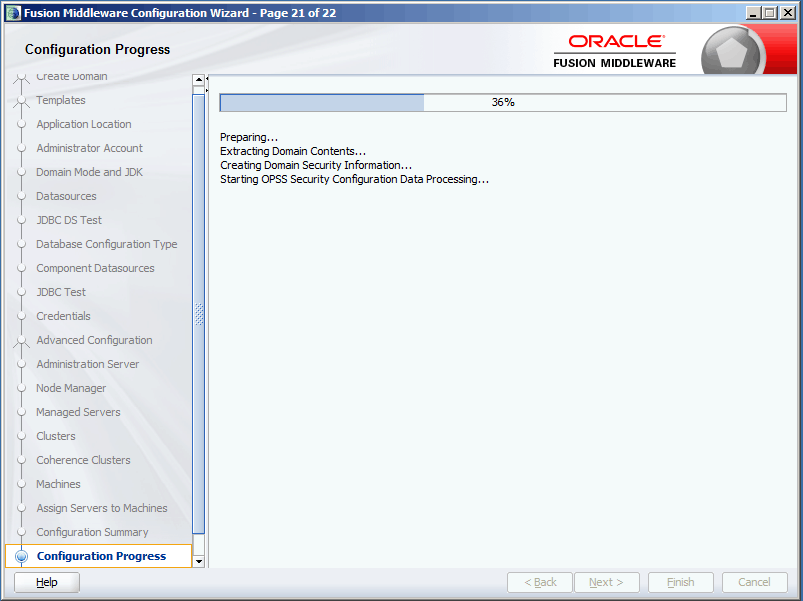
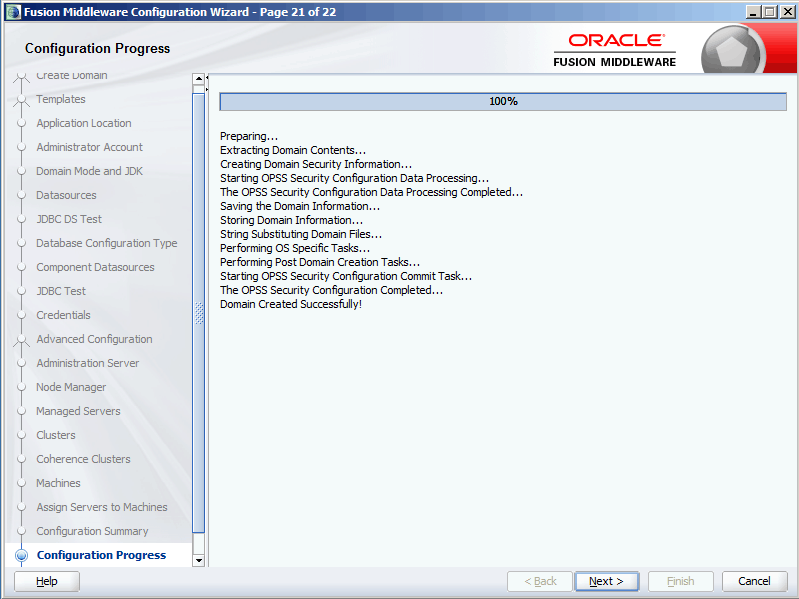
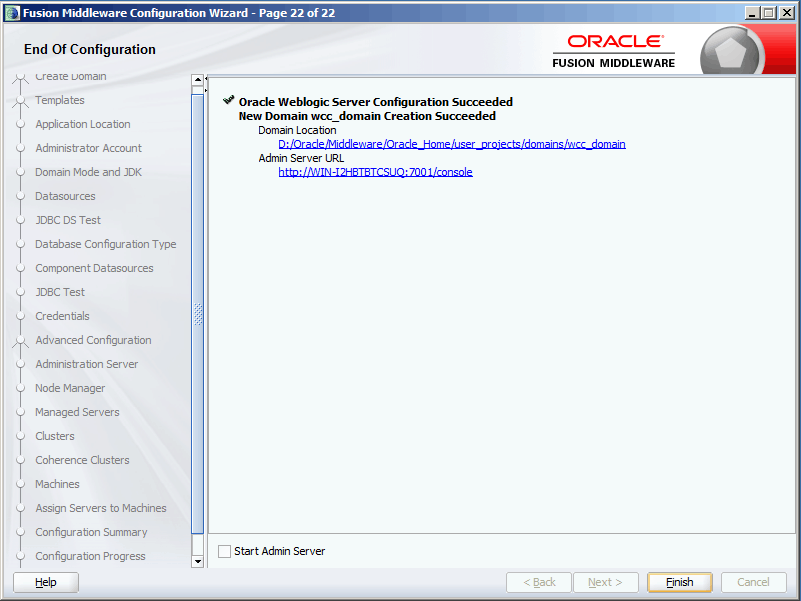
完成域配置及安装
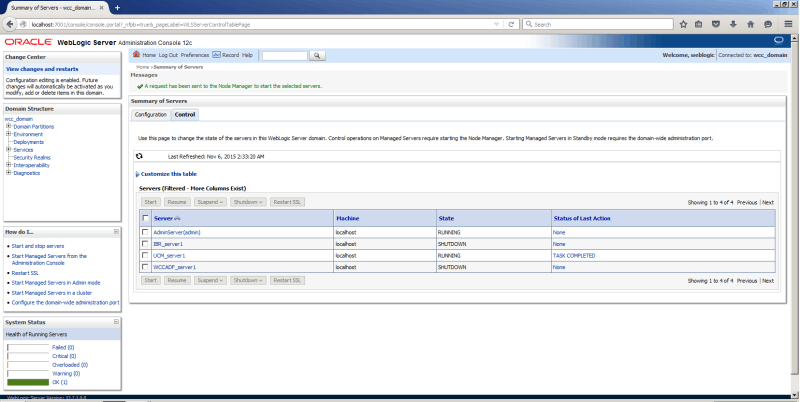
2.3 启动管理服务器
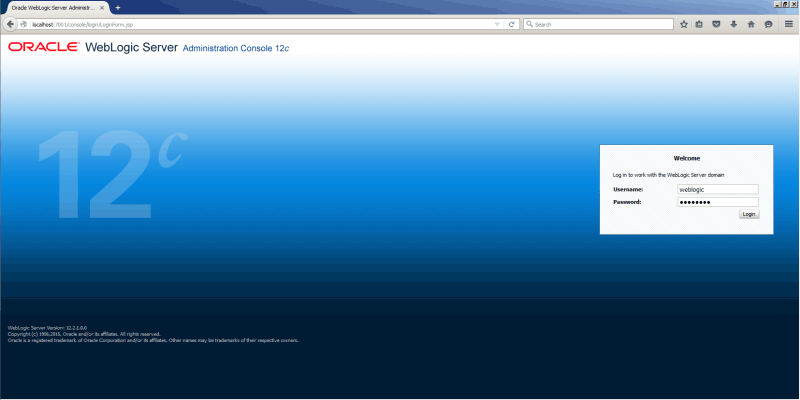
利用命令startNodeManager.cmd和startWeblogic.cmd启动Node Manager和Admin Server,通过地址http://localhost:7001/console登入控制台。
启动UCM_Server1
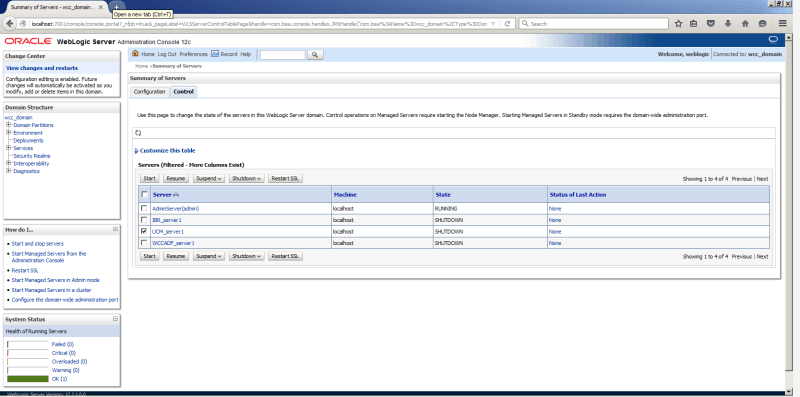
确认管理服务器已处于Running状态。
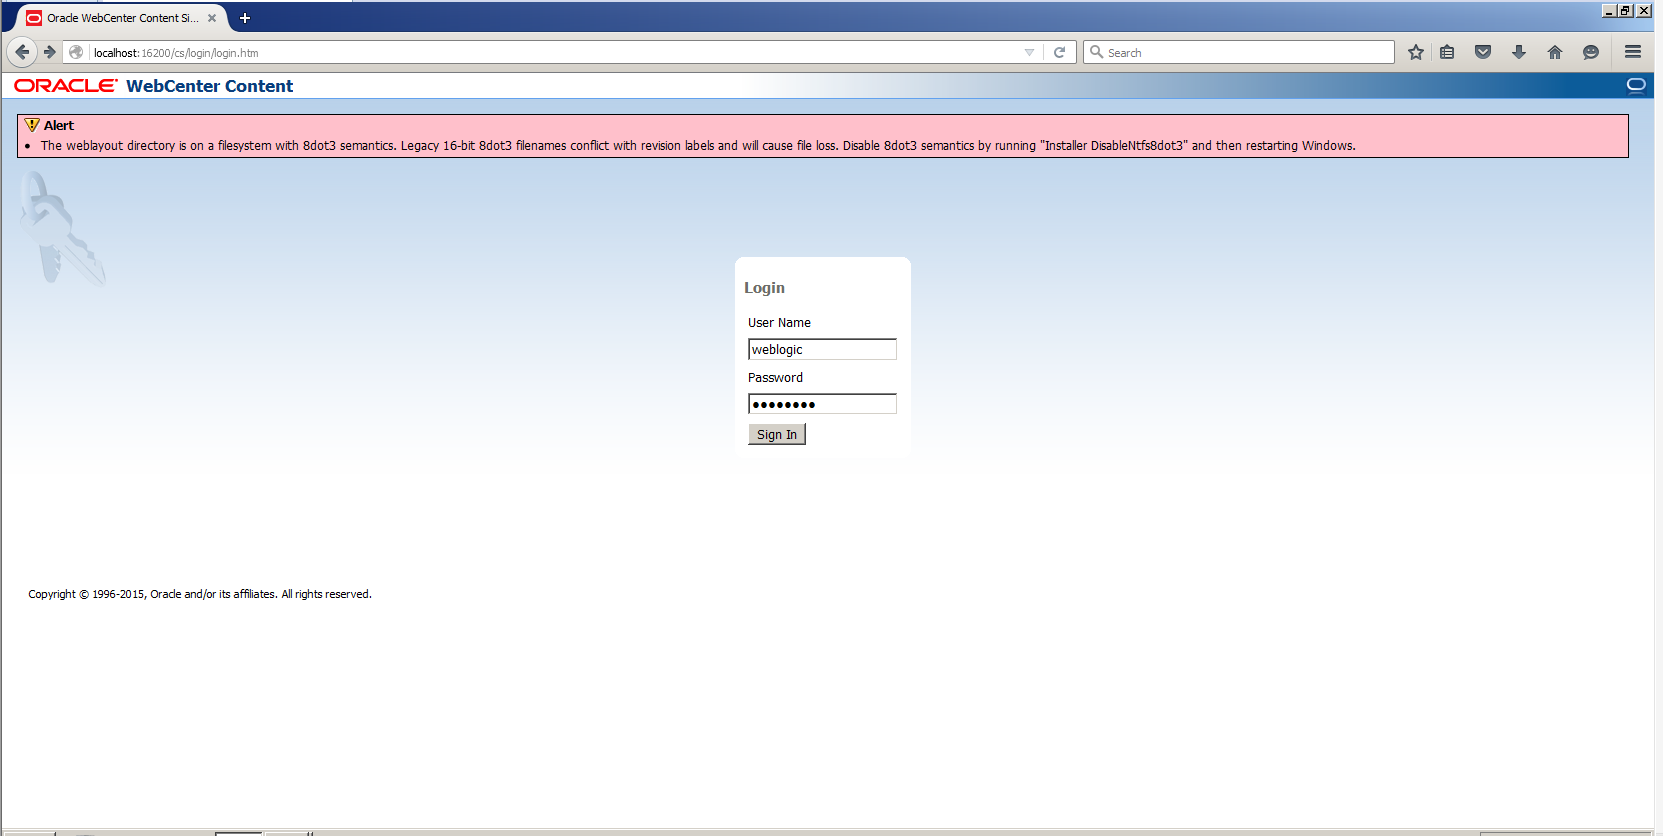
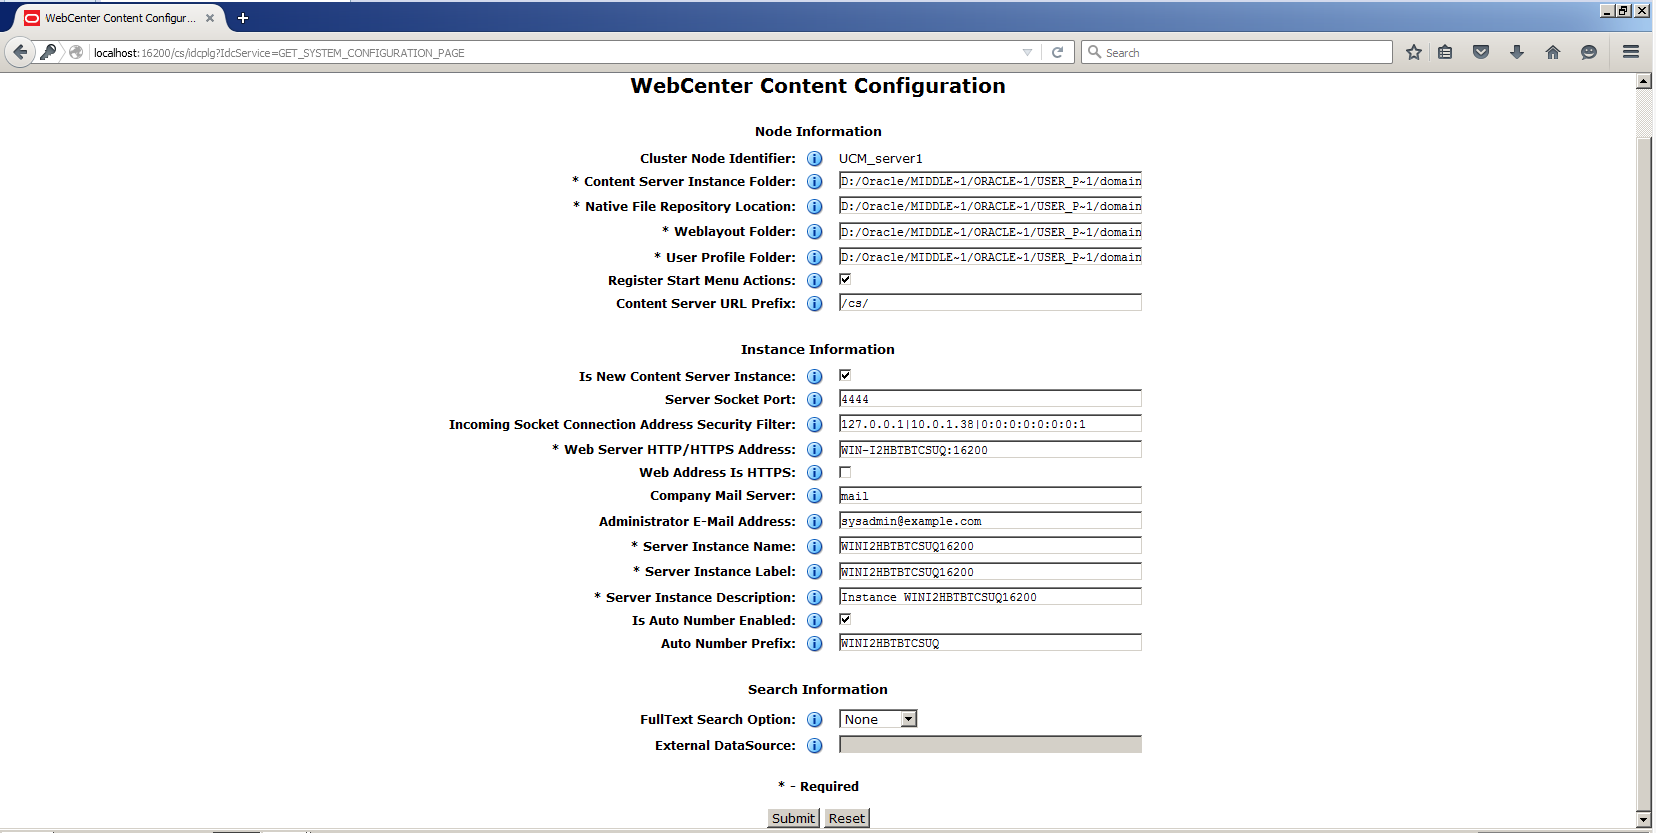
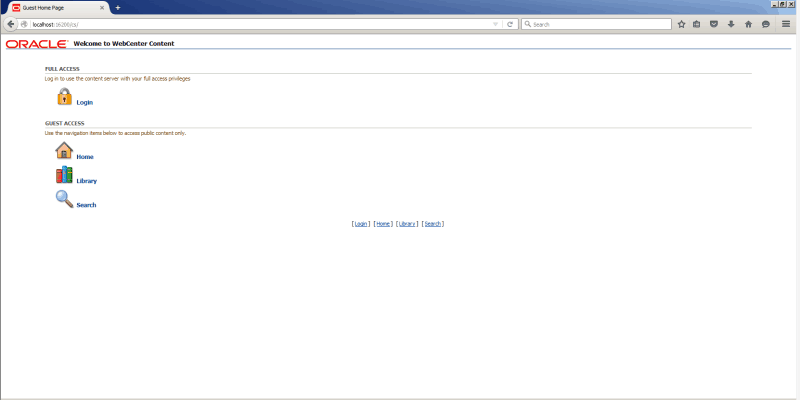
2.4 访问WCC服务器,完成初始化配置
访问地址http://localhost:16200/cs,登录WCC,完成初始化设定
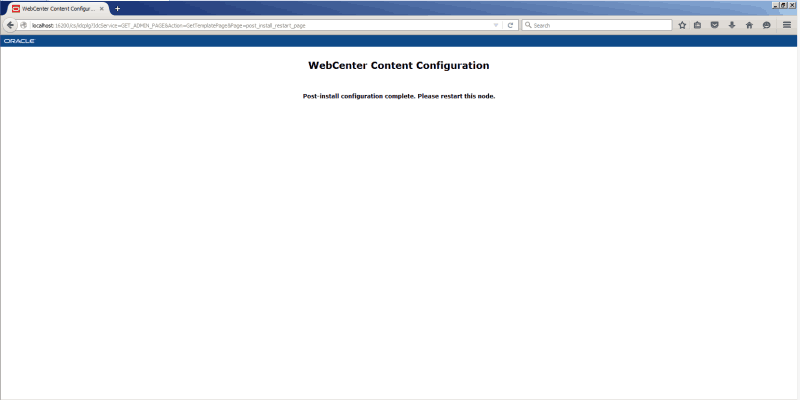
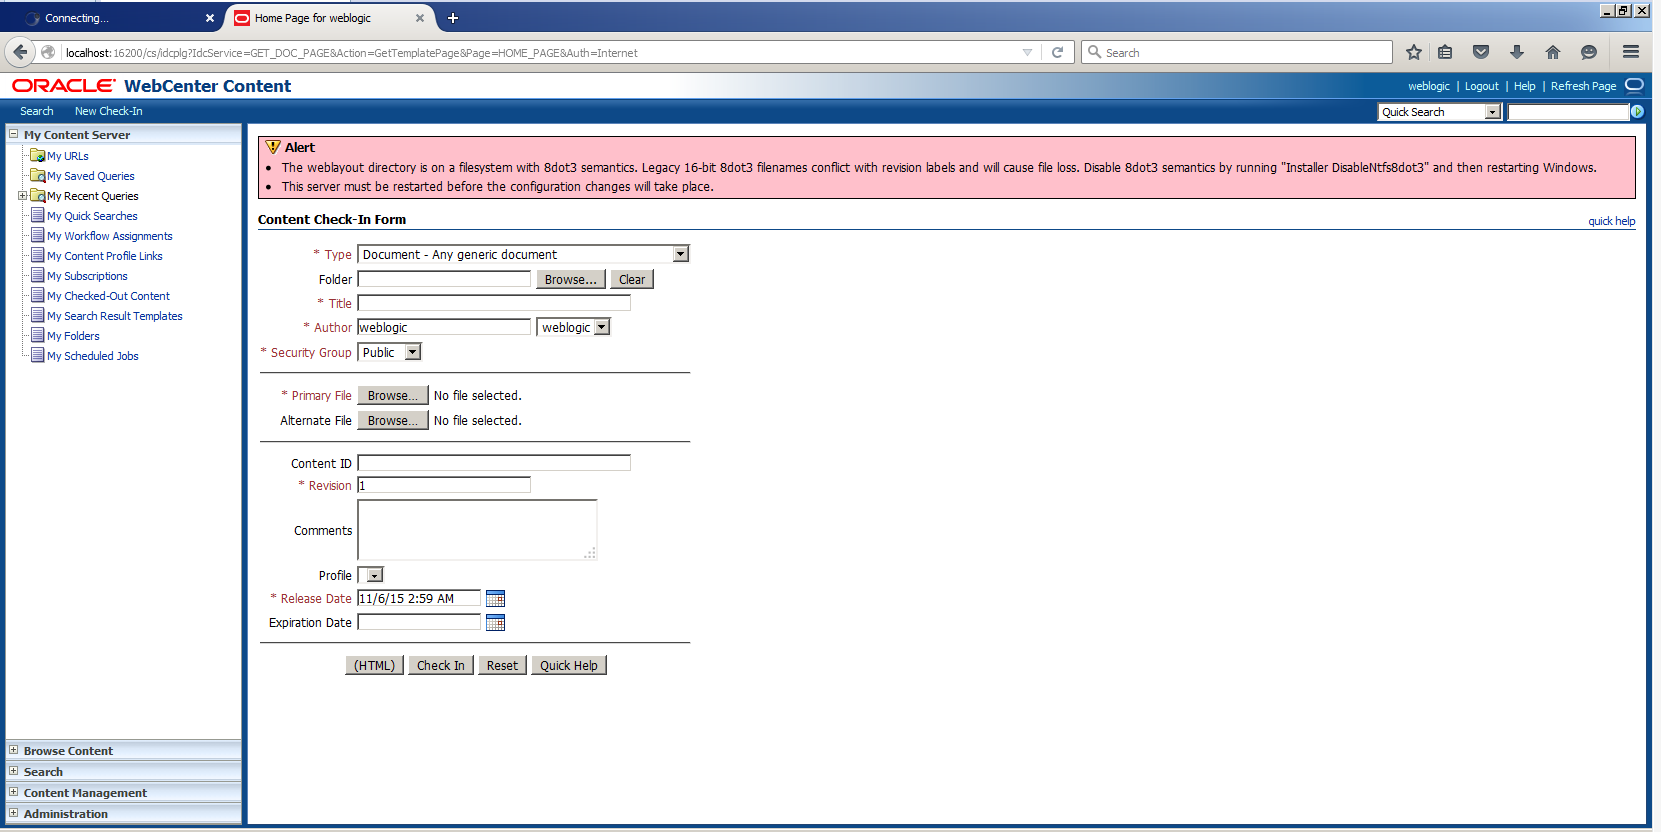
重新启动服务器,即可正常使用WCC了。
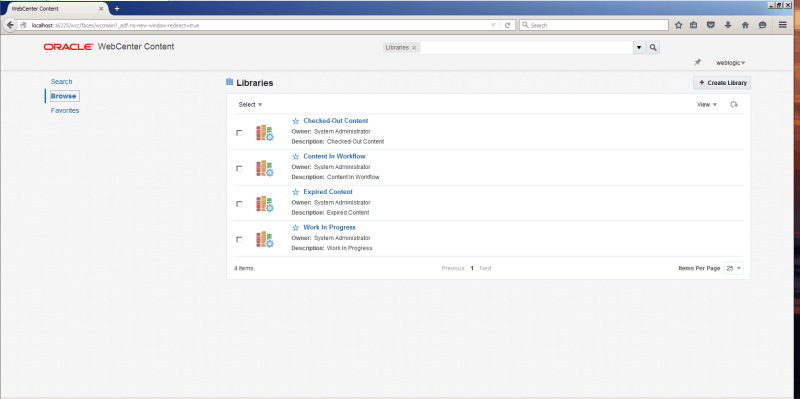
如果要使用Alta UI,必须启动WCCADF_server1,通过地址http://localhost:16225/wcc,即可体验New UI。

评论
发表评论